While the temperature here in Denmark is still for shorts and T-shirts, itís an unrelenting fact that winter is drawing nearer. For many flyfishers, winter is tying-time (and somehow I always end up in panic just before the start of the season with lots of flies I need but havenít tied). This little piece is on preparing and even improving on your flytying materials before you actually tie them to a hook.
Why?
Why spend time on preparing and grooming the materials? Well, thereís not one answer, but many. For instance, as youíll see in the pictures below, many (in fact most if not all) dyed materials havenít been washed properly after the dyebath, and that means that when the fly ends up wet in the box, the colors of the different materials will soak into each other. Imagine a salmonfly with a white wing and a blue hackle. If the materials havenít been prepared properly, the white wing will end up pale blue in time. Most materials will even improve greatly in quality after a good wash and a gentle drying. Hackles assume their natural shape and apart from removing excess dye, you end up with feathers that are much easier to tie with. With the feathers in their own, proper shape itís faster and much easier to judge length of barbules and the taper of the feather. Hair-materials probably benefit the most. Combing removes all unwanted underfur and fluff that does no good on the hook, other than take up space and hinder movement in the wing. Washing cleans the hairs and makes the hair much, much easier to tie with leading to better and prettier flies. Even natural dubbings can benefit from a wash. I wash all my sealís fur, believe it or not. You wonít see a great improvement in quality, but you get rid of excess dye and the little pieces of hide that are sometimes present in Sealís fur. I also give many of my dubbings a whirl in the coffee-blender.
Washing, combing, drying
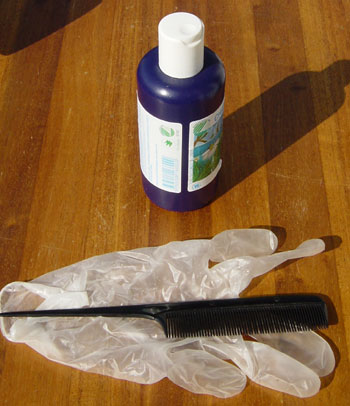 Here's what you'll need - shampoo and a comb (you might want to wear gloves if you don't want black fingers)
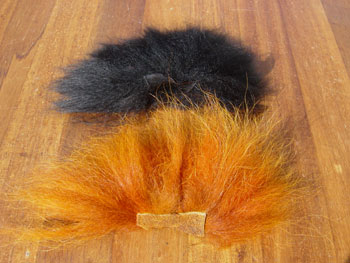 Here's the before-picture :-)!
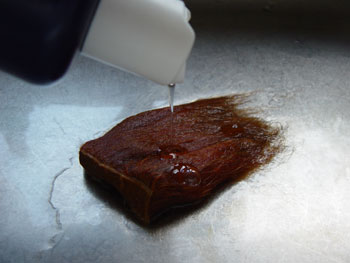 Soak the material (here a piece of artic foxtail) in lukewarm water thoroughly. Make sure itís completely soaked and then add a little shampoo.
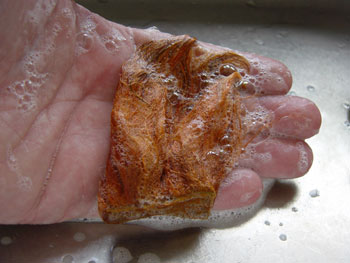 Rub the shampoo all the way through and into the hairs for a minute or two.
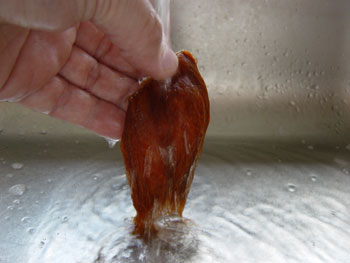 Rinse under running water.
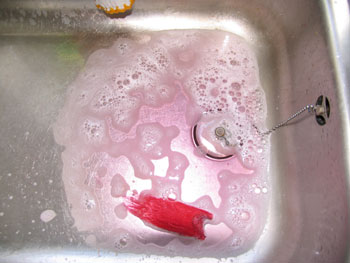 As you can see in this picture, there are loads of excess dye to rinse out - repeat until no more dye rinses off.
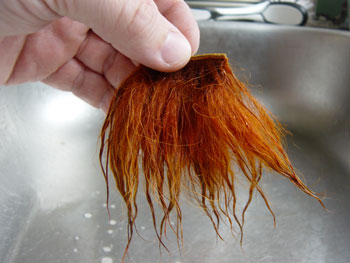 Squeeze and shake out as much water as possible prior to drying.
Leave the wet piece on a tablecloth while you wash the rest of your new acquisitions.
 Now sit the blowdrier on the table and turn it on on the lowest setting. Dry the hairs while you gently comb through them. The combing removes loose hairs and underfur as well as making the drying process much faster. If youíre preparing a cape or saddle, obviously you canít comb through them. Just open up the cape gently and allow the feathers to dry.
Leave the pieces on the radiator (low heat) or in the sun to dry (not for too long, you donít want the sun bleaching your colors). Bigger pieces benefit from being nailed to a board to prevent the hide from folding up too much during drying.
If cape or saddle, end the procedure by steaming them over boiling water to secure that the feathers have resumed their natural position and shape.
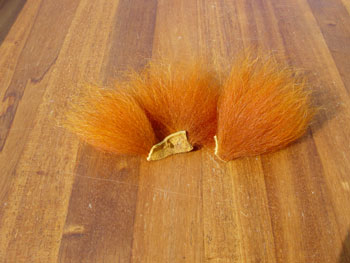 See the difference (as you can see, sometimes the hide will break when combing)?
Natural dubbing
Depending on what you need the dubbing for, you may choose to wash it. I rarely do as I want to preserve any natural grease in the fur for tying dries.
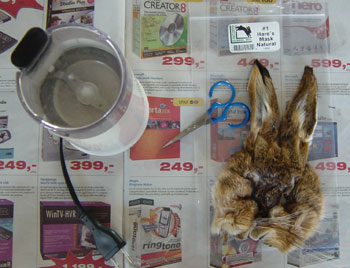 You'll need your material, scissors (or shaver), old newspaper (it's messy), small ziplock bags and coffee-grinder.
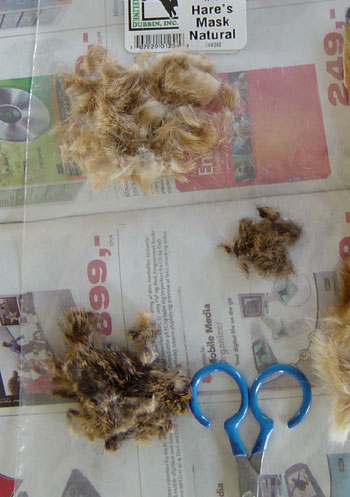 Either use a pair of scissors or a shaver, cut the fur from the hide. If you are preparing a hareís mask, you may choose to keep fur from the different parts of the mask separate. I usually just separate the fur from the ears from the rest. The fur on the ear is very short and makes great dubbing for small flies. Here, Iíve separated the fur from the forehead (dark), cheeks (light) and ears (short, dark).
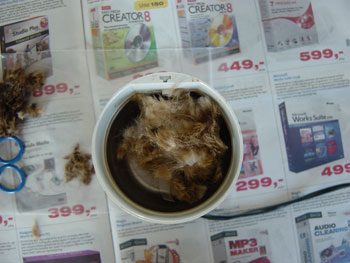 When youíre done cutting, place the dubbing in a coffee-grinder and give it a good whirl, preferably in short bursts. If you want to mix in other materials, nowís the time to do it (short pieces of flash, other natural dubbings to change structure etc).
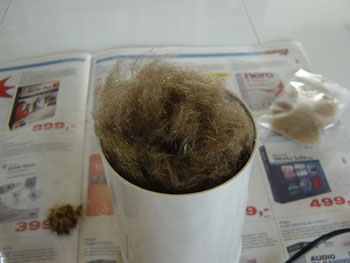 Note how the dubbing loosens up and fluffs up. Here, I've blended the dark fur together with a little Pearl Ice Dub cut into small pieces.
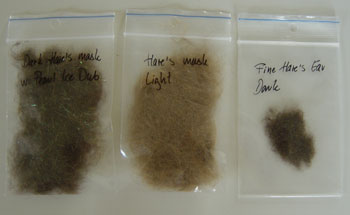 Done Ė put the dubbing in labelled ziplock bags and youíre ready to go.
Have fun grooming :-)
Viking Lars
