Butchers Block & Welcome Lochlan Joseph Creane!
I haven’t had a day fishing since early May. It’s the longest time I’ve gone without fishing probably ever. It hasn’t been easy putting fishing aside while large rainbows were migrating the local river, but it’s certainly been worth it. Our son, Lochlan Joseph Creane, arrived on May 30th. He came kicking and screaming into the world and he hasn’t stopped since! The role of looking after Lochlan has been split equally between the two of us. The little fella is hard work requiring almost constant attention (which is normal of course!)! Adaline was easy in comparison which is why my fishing came to a grinding halt. I’m loving it though, it’s been an eventful and happy time since his birth. Incredible watching him grow and develop and I’m excited to have this little man in my future.
With no fishing for 2 months it’s lucky for me that I’m almost as happy with a hand plane as a fly rod. In fact, every winter I spend quite a bit of time in the workshop making furniture for the house. This year its for our own house which makes it even more special. Between nappy changes over the last 7 weeks I’ve been in the workshop. Even if I only have 10 minutes to spare I can achieve something. Thankfully though, with Iza’s help minding the kids, I had 3 or 4 hours in there most days. Iza wanted a butchers block for the kitchen and I needed a project so the butchers block project was born.
Pretty much everything I’ve made in the last few years has been made from recycled timber. Pallets, old building wood, left over bits and pieces, driftwood, old fences, whatever! I love recycling timber. Least of all for the cost saving although thats a huge bonus. Most of all because the available timber sort of designs the furniture piece for me. I have to work within the parameters of my available material and thats good for me. Without limitation I take off in so many directions that my brain can’t keep up. I think about what I or we need for the house, look at the timber and let my mind wander. I usually start making without a drawing. Some component to get the ball rolling and then, with something to look at, the design / build happens together. Usually at this stage I’ll make a rough working drawing but I adjust it as I see fit along the way. Working to a fixed plan is not much fun. Working freely with timber is very satisfying and lots of fun. I need it almost as much as I need the river!
The butchers block project is fairly well documented in photos below. It was pretty challenging to persuade some of that timber to work for me. The grain was crazy at times, some natural and man made defects were hard to get around but these are the challenges of recycling that I enjoy. I like to fill the holes with timber or filler. I don’t care if the colour does’t match, I just don’t want a hole in the finished piece. If I’m screwing and plugging I do try to match grain and colour. Lots of double standards and often mood related but I can do what I want. Whatever I feel like and I guess thats the point. Miraculously, throughout the build I only hit one nail!
Since I had no fishing to talk about I decided to talk about this – my other life. I probably wont again but this felt okay! It’s worth a mention that the amount of fly fishermen I know that are also woodworkers is quite amazing. Hopefully some of you will enjoy my approach – rough and ready as it is – to woodwork.
Jeff and I are going fishing tomorrow and the next day and then a week or so later I’m off to Malaysia to see Paul and hopefully catch the two species tough enough to break the best of us! In my next blog there will be fish… I hope!
If you’re thinking about a trip to NZ this year or next feel free to drop me a line. February is full at this stage but I have plenty space otherwise. Contact me ronan@sexyloops.com or visit my website..
Tight Lines, Ronan..
-

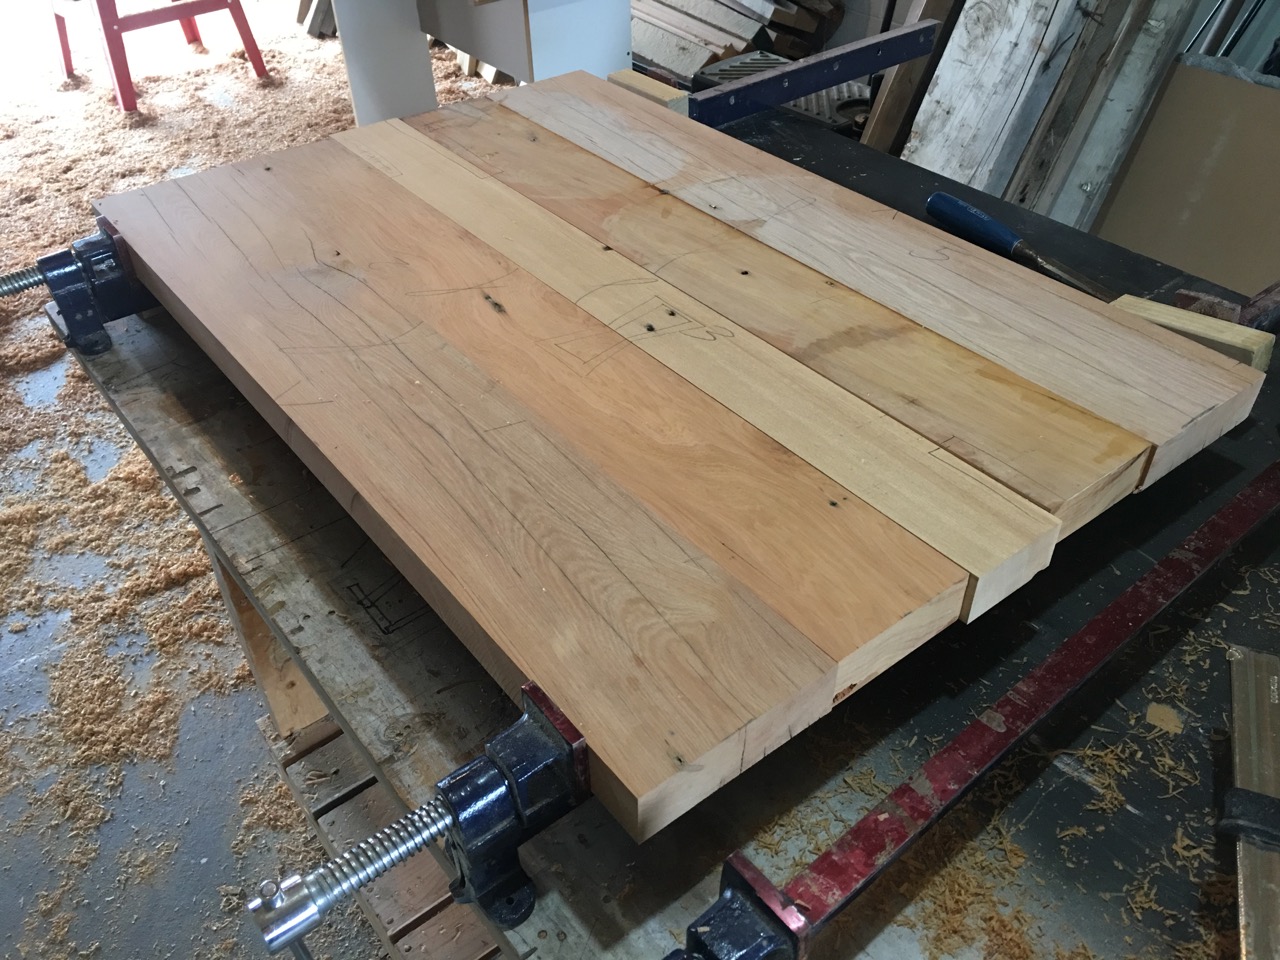
- Mostly Rimu. I salvaged all this from a demolished house and seasoned it for a year.

-

- The first thing I did was make the top.
-

- Glued up! The size of the top will determine the size of the unit under it.

-

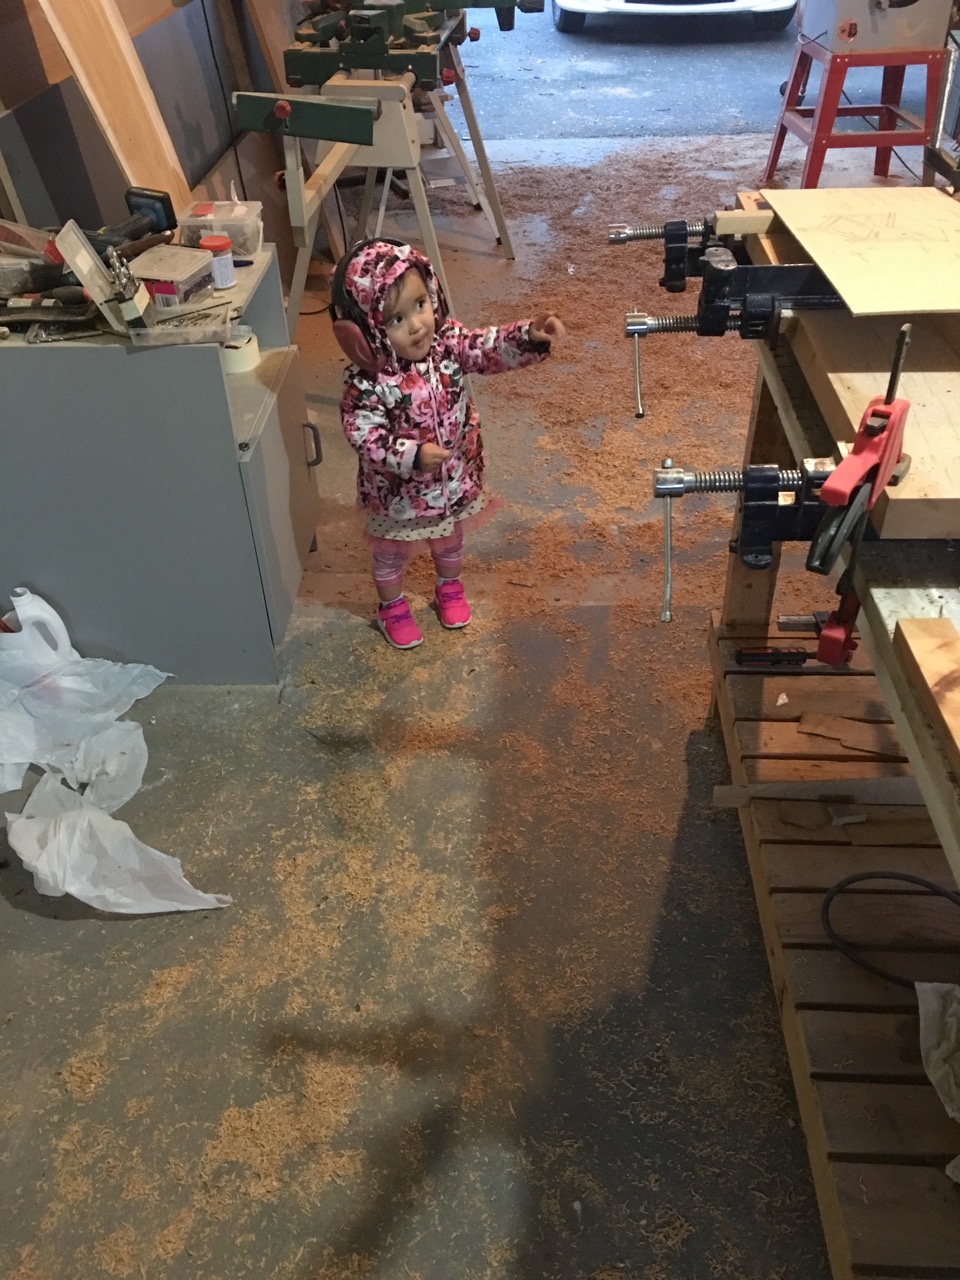
- My helper.

-

- Full of interest!
-

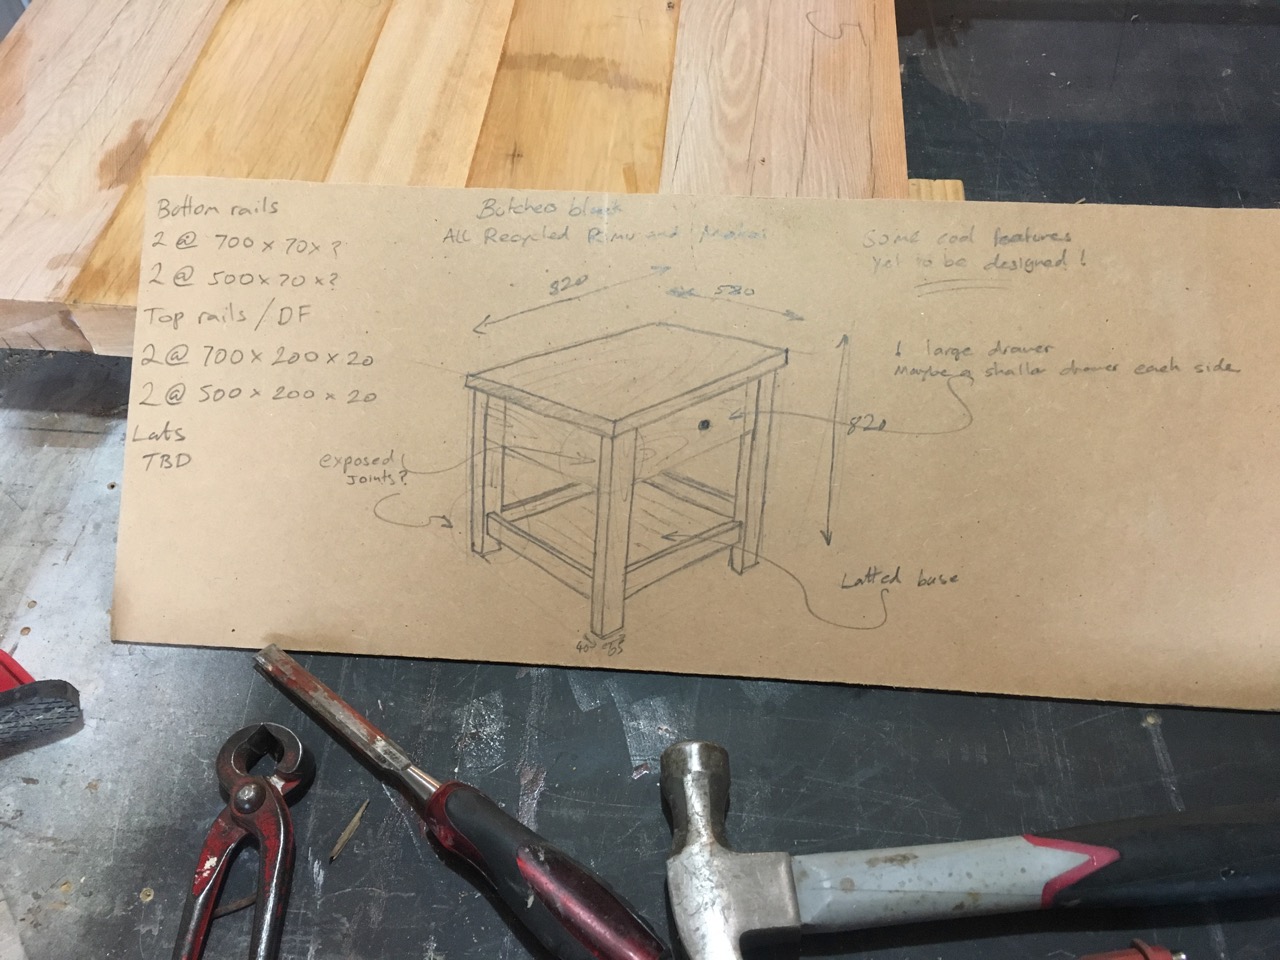
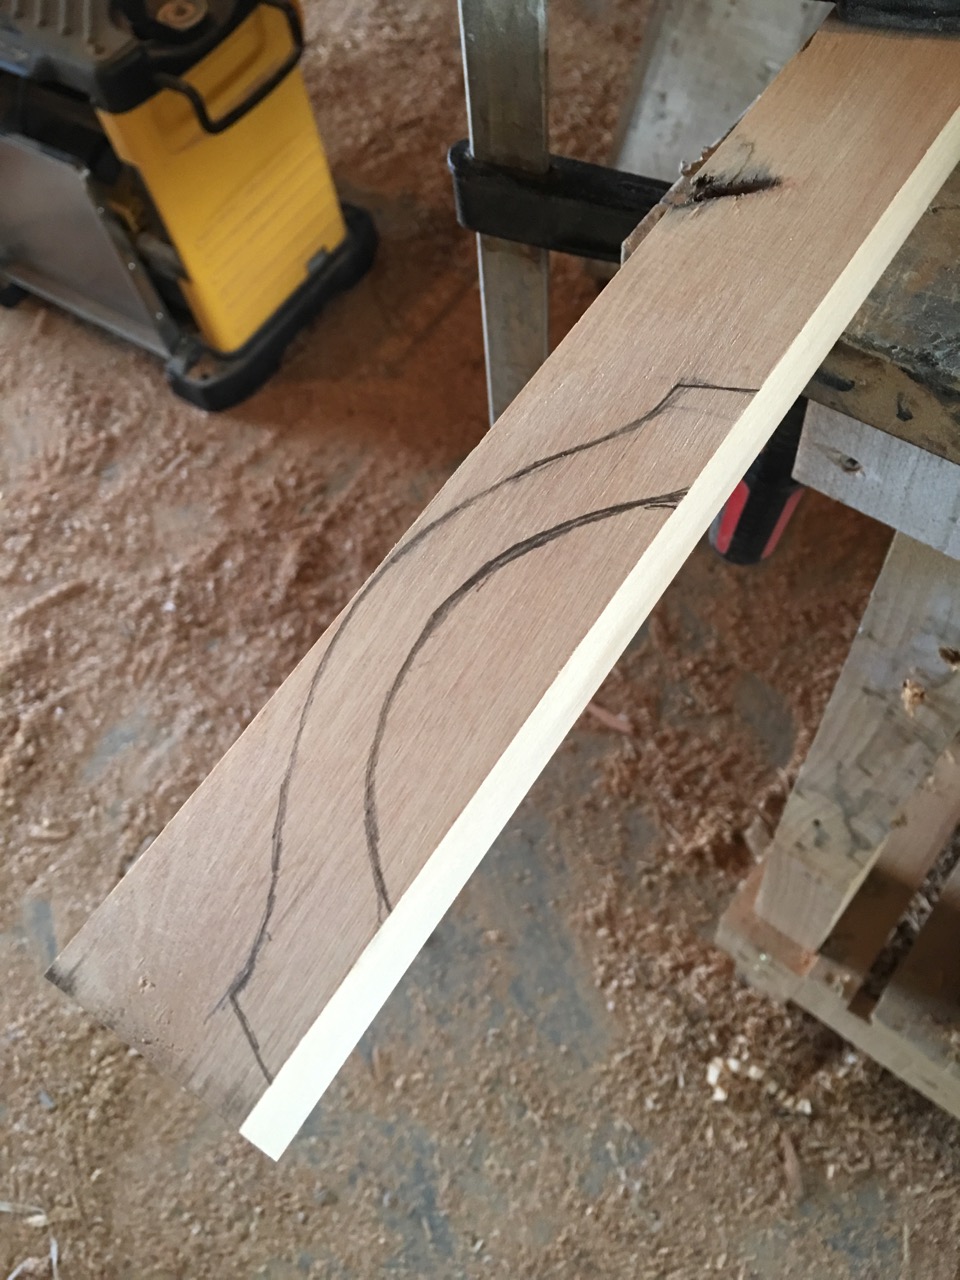
- A quick sketch of what I want to achieve.
-

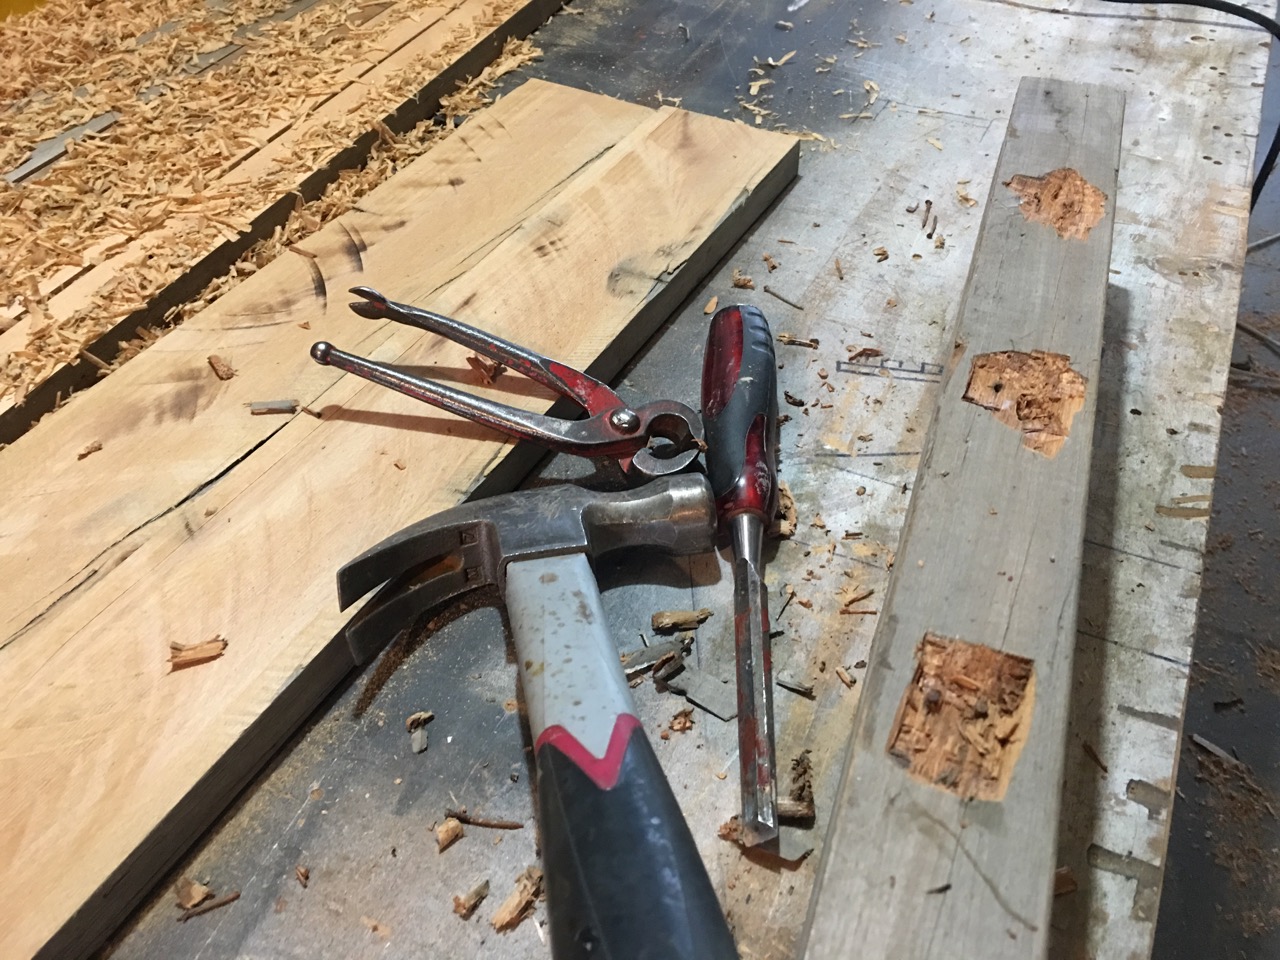
- De-nailing takes time..
-

- An old Rimu stud. Remove the nails..

-

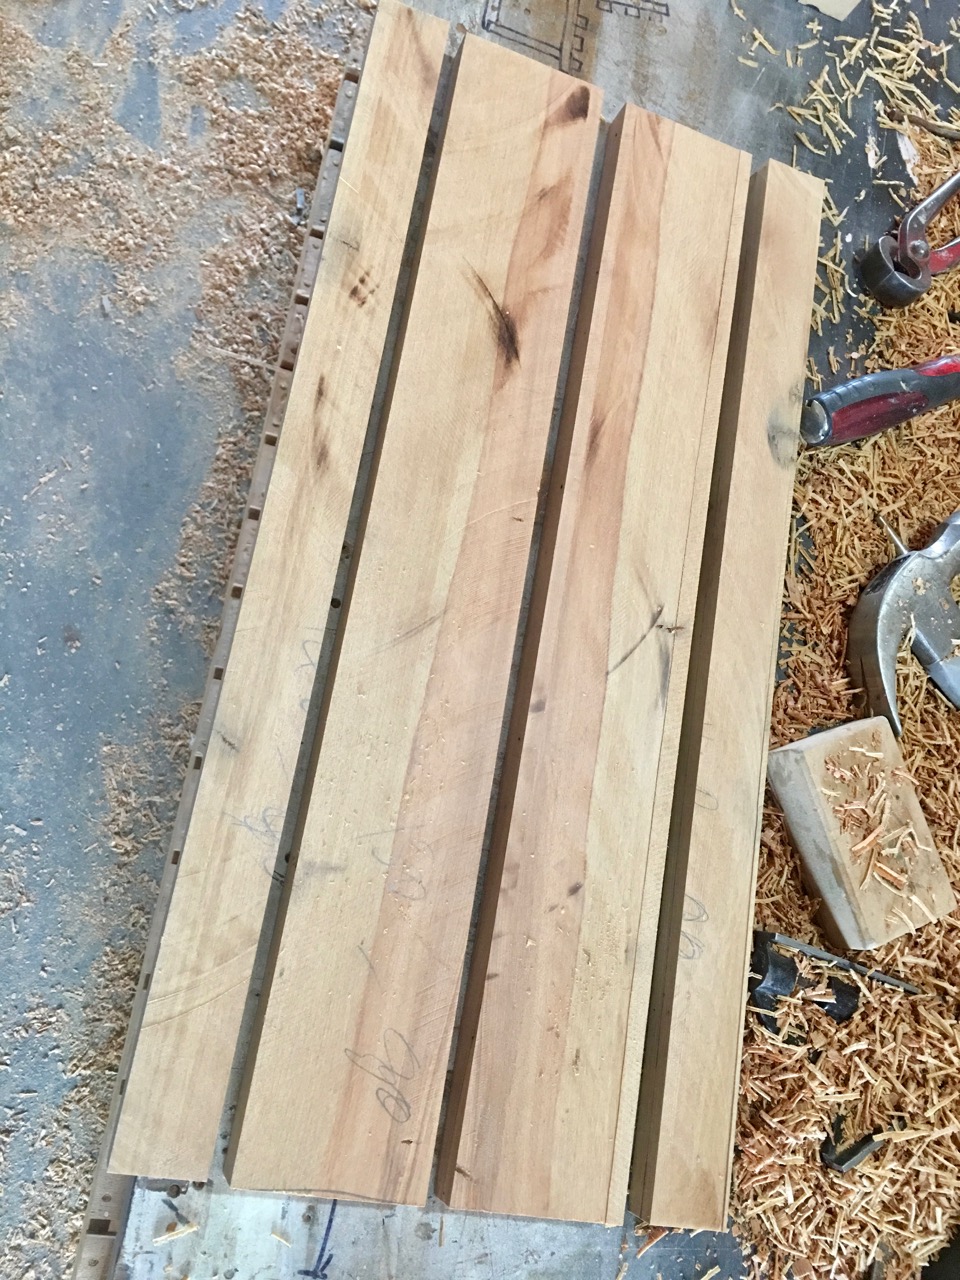
- ..and rip it..

-

- ..then you can book-match the rails. I love bookmatching!
-

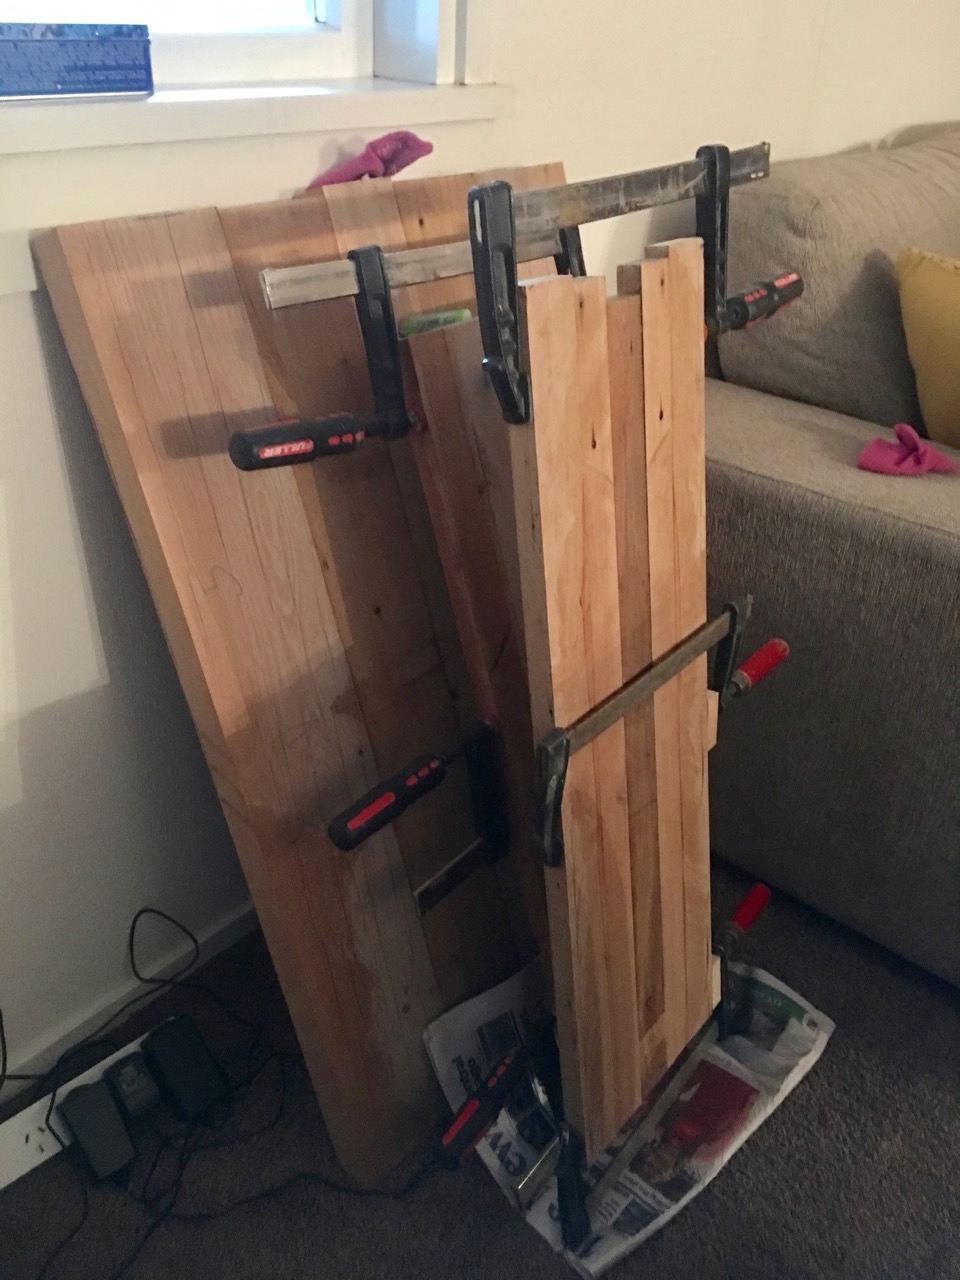
- Rails and top left inside to acclimatise.
-

- A book-matched rail after the thicknesser.
-

- Drawer front and back rail.

-

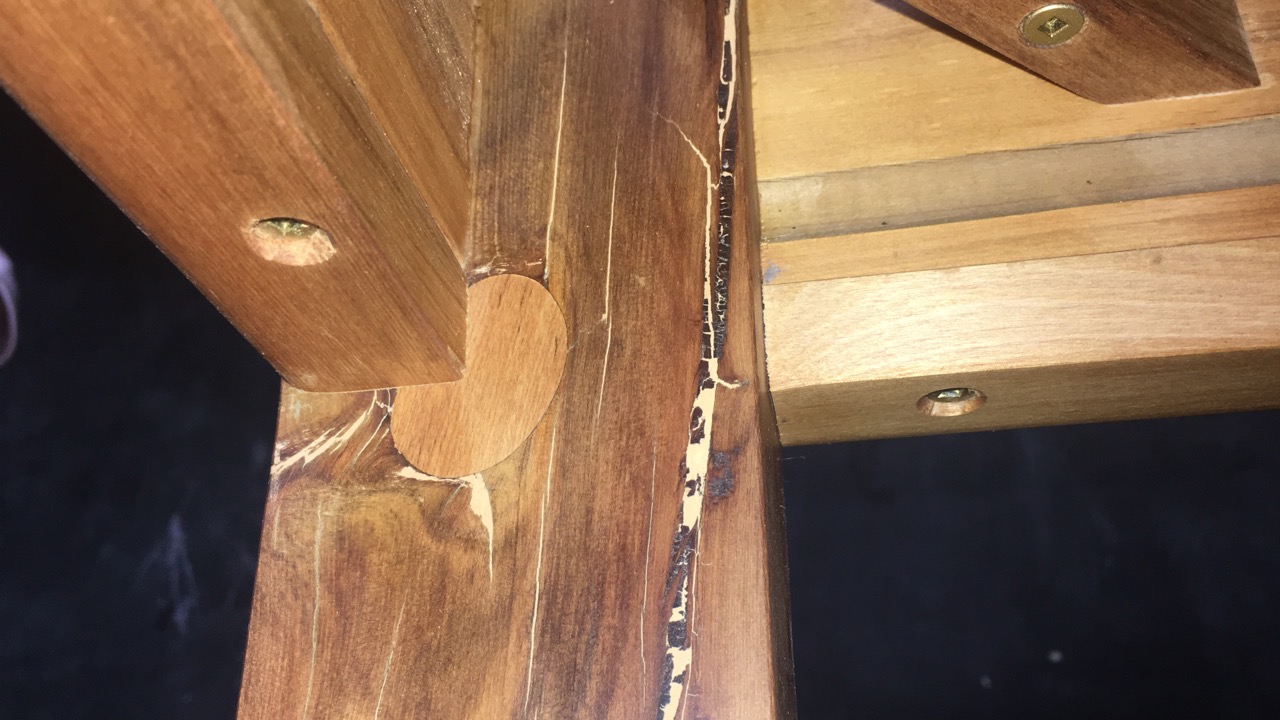
- I had to remove some very broken grain and replace it with good wood to add strength and stability.

-

- This is it finished..

-

- The woes of recycling. Some holes are too big to fill. I routed the hole freehand and made the plug to suit.

-

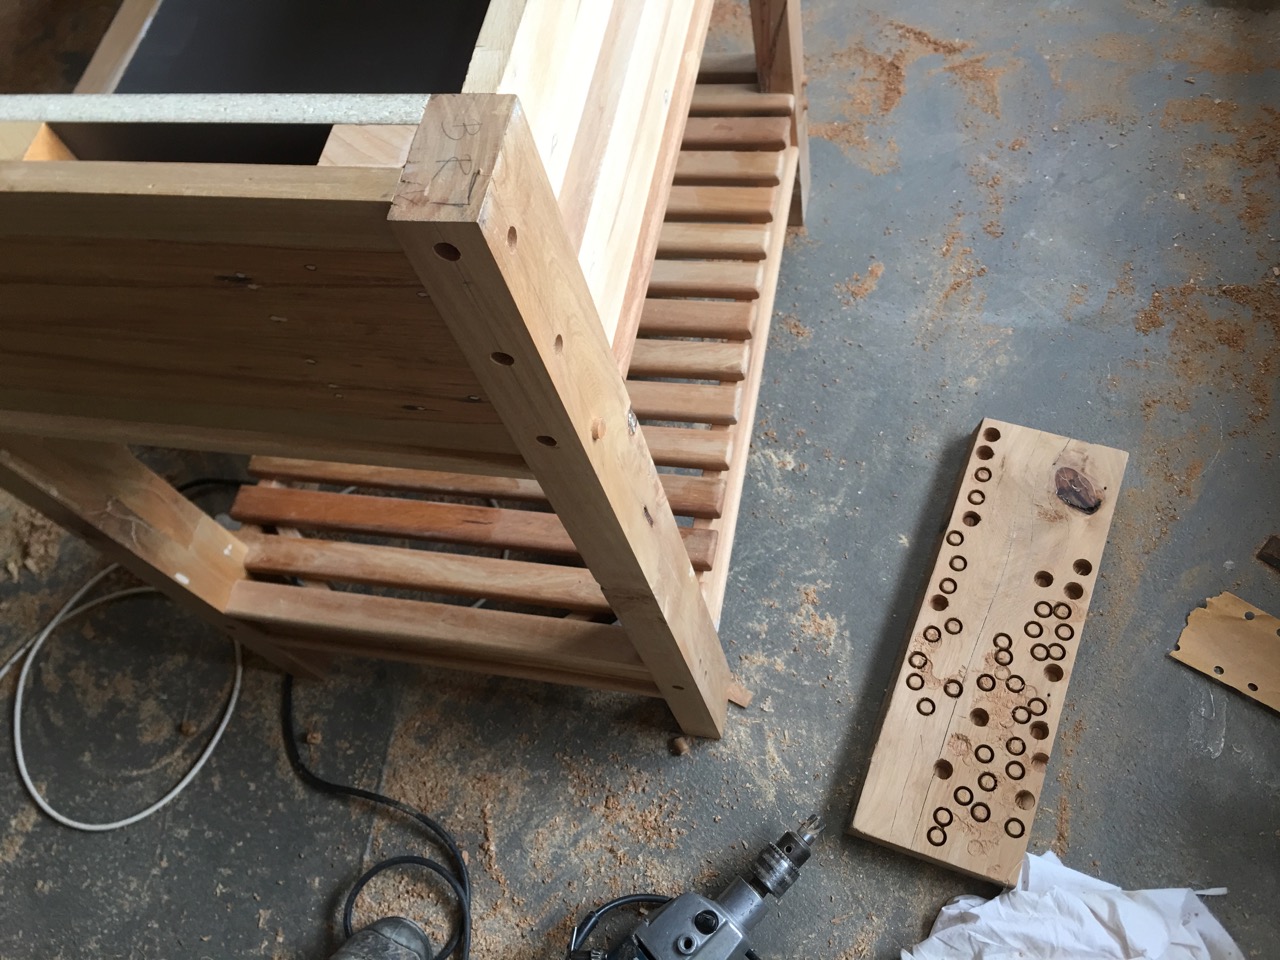
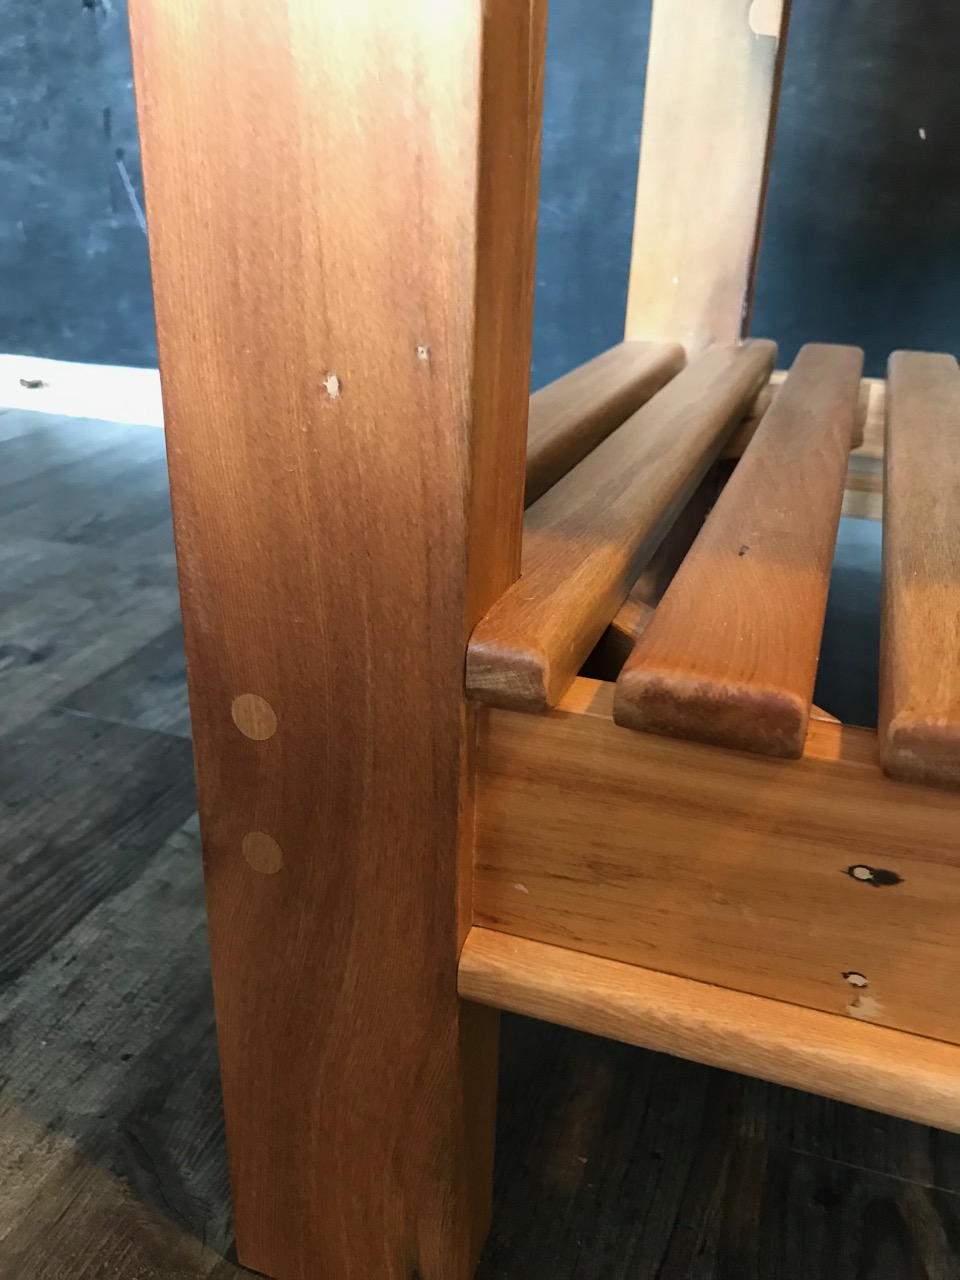
- Filled and sanded. The holes are for a screw and dowel joint.

-

- This is it in the finished piece.
-

- Some old skillsaw cuts. Too deep for filler so I cut biscuits instead.

-

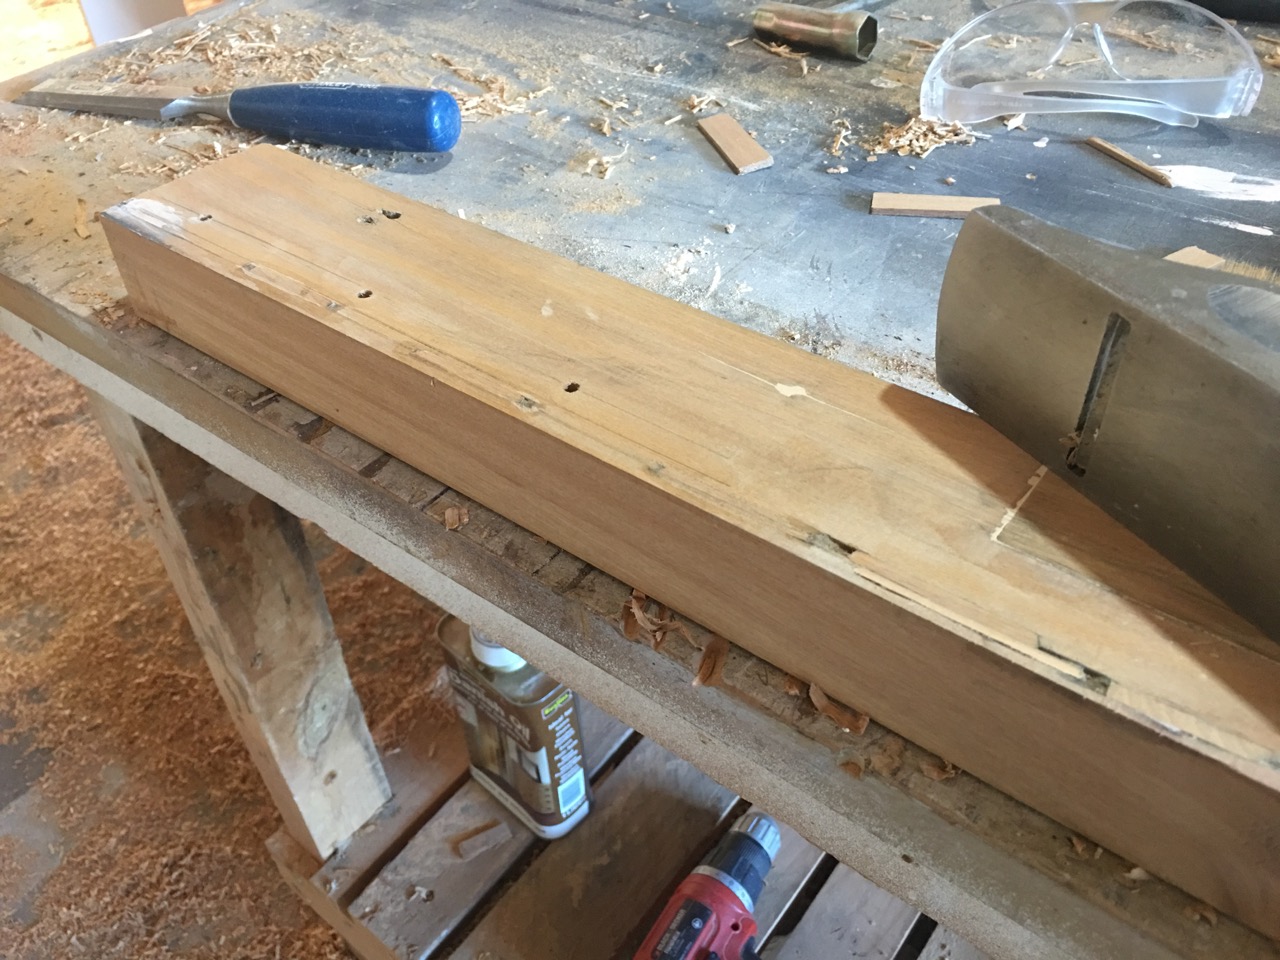
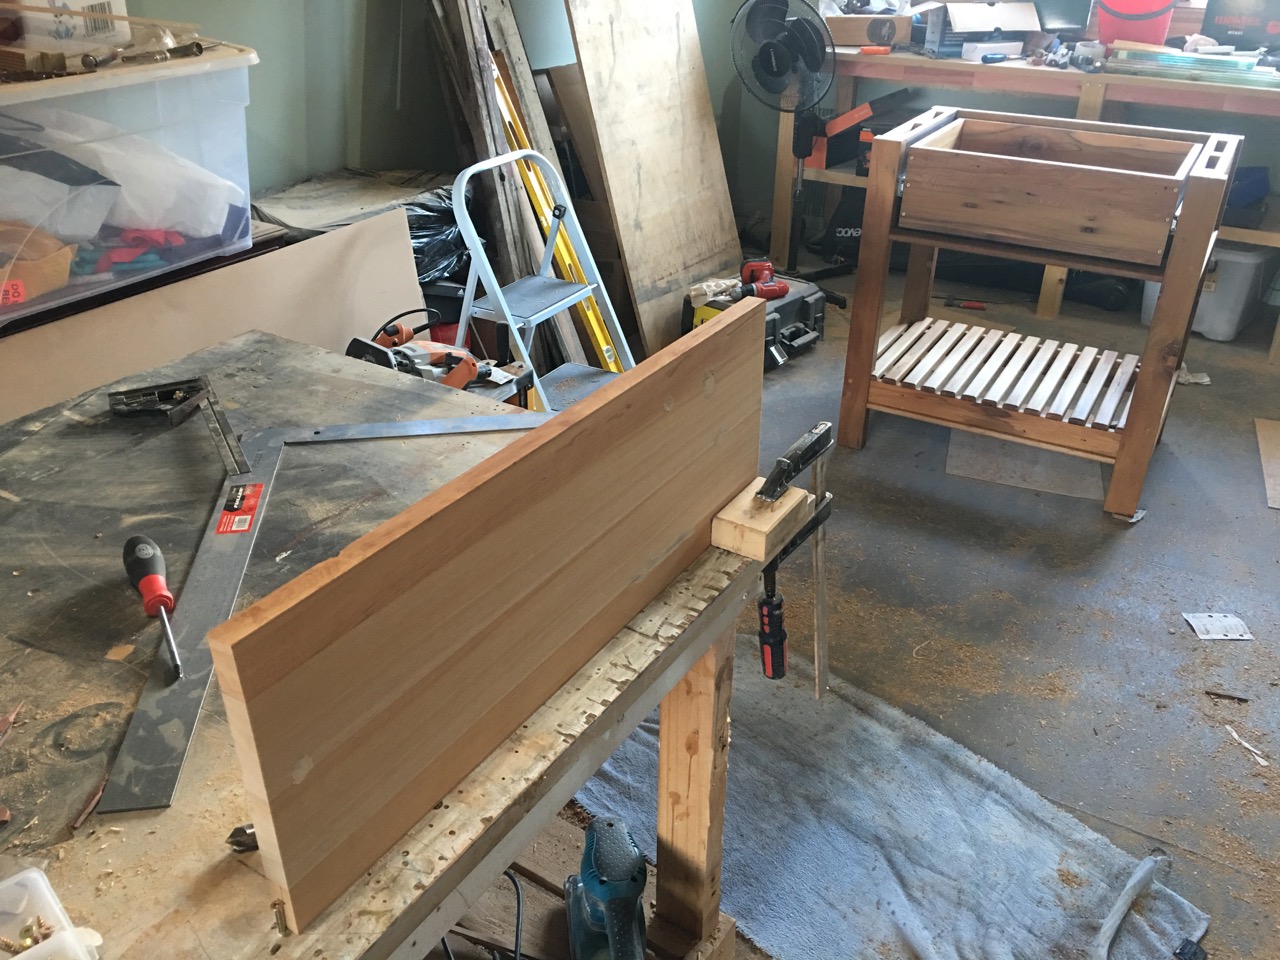
- Plained.
-

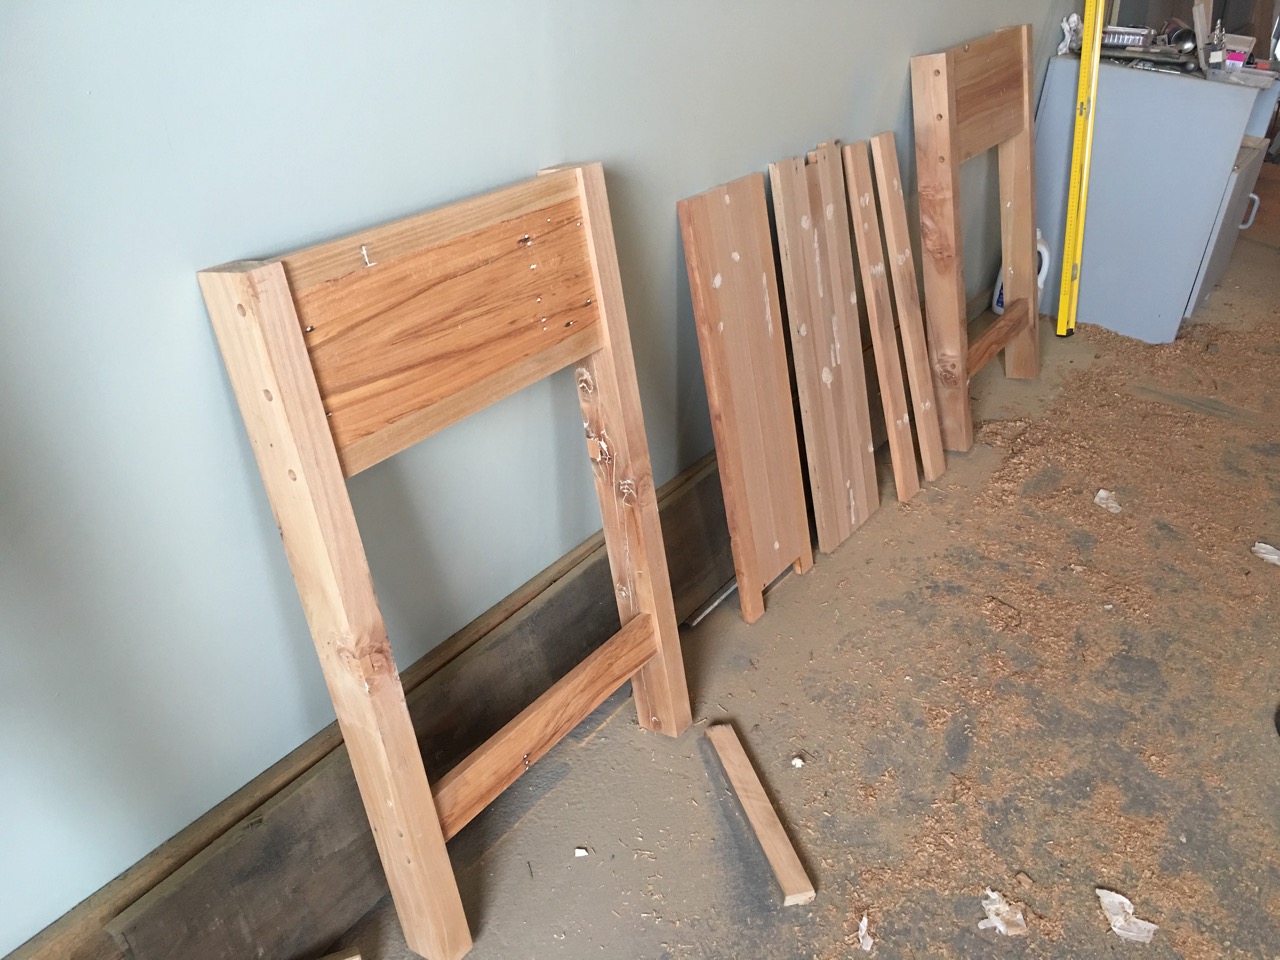
- With the legs now ready I assemble the sides.
-

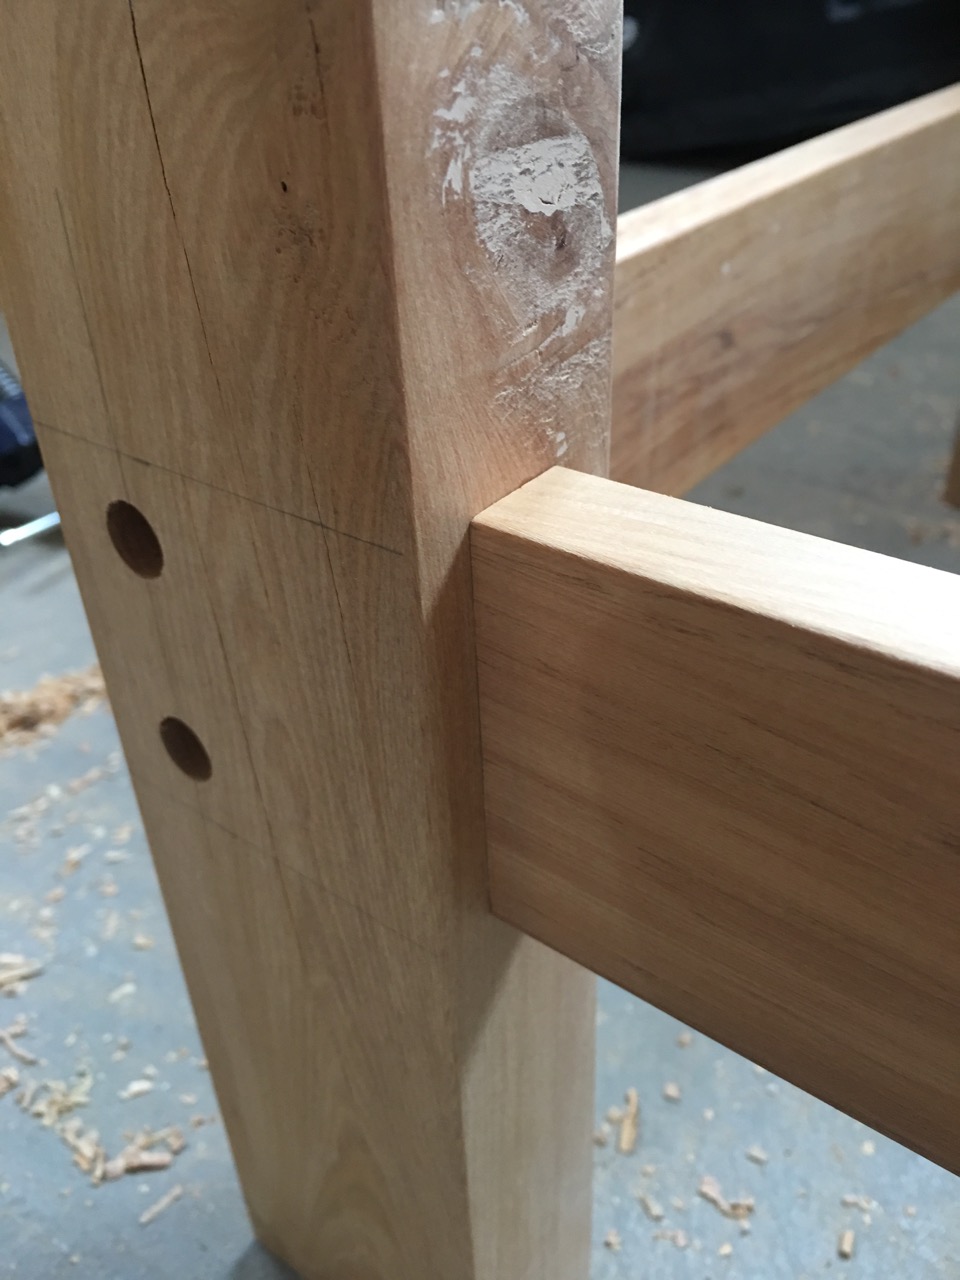
- The long rails have 2 dowels and 1 screw, the short rails the opposit..

-

- The workshop..

-

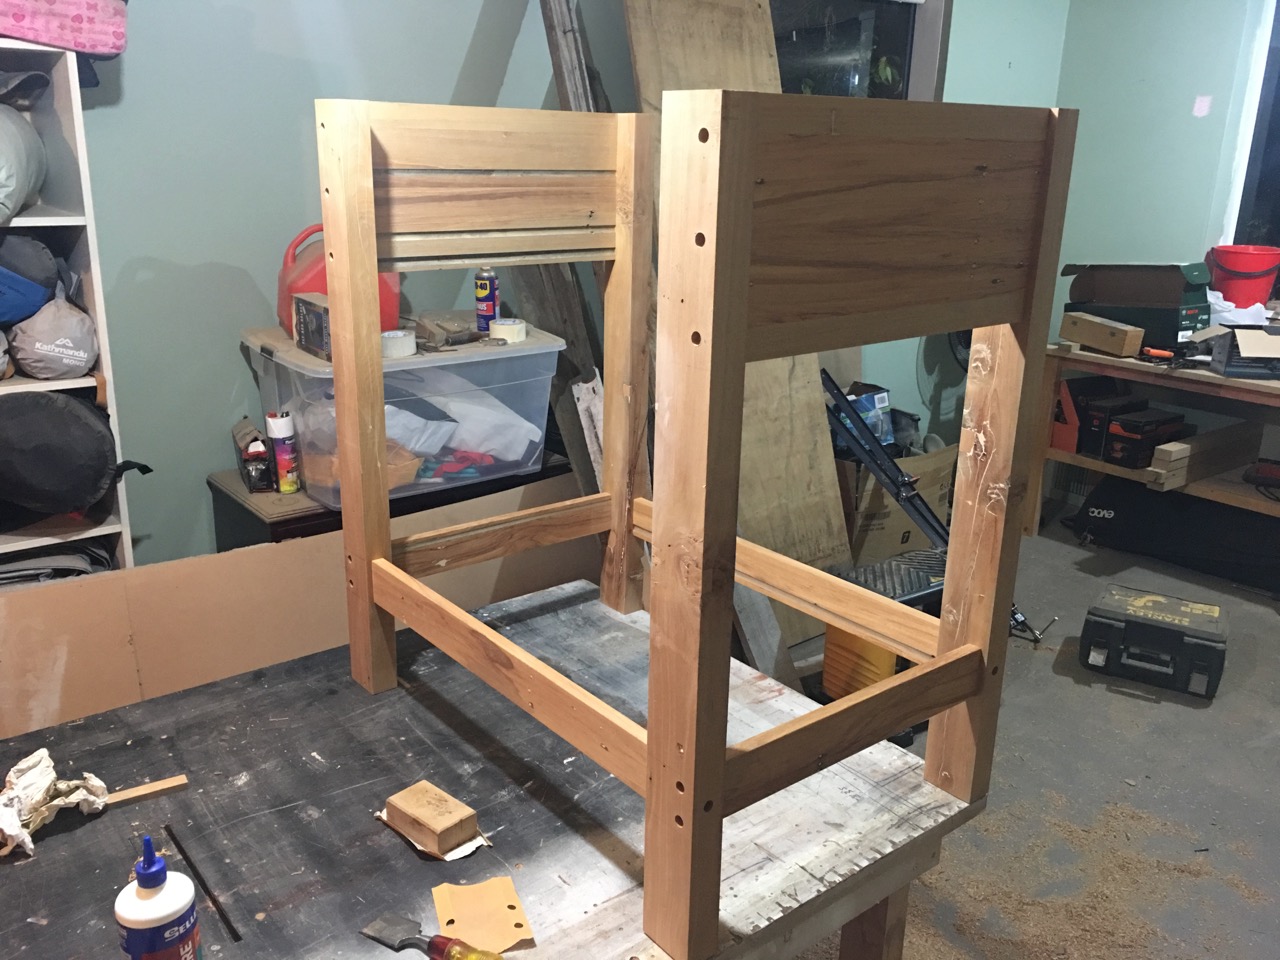
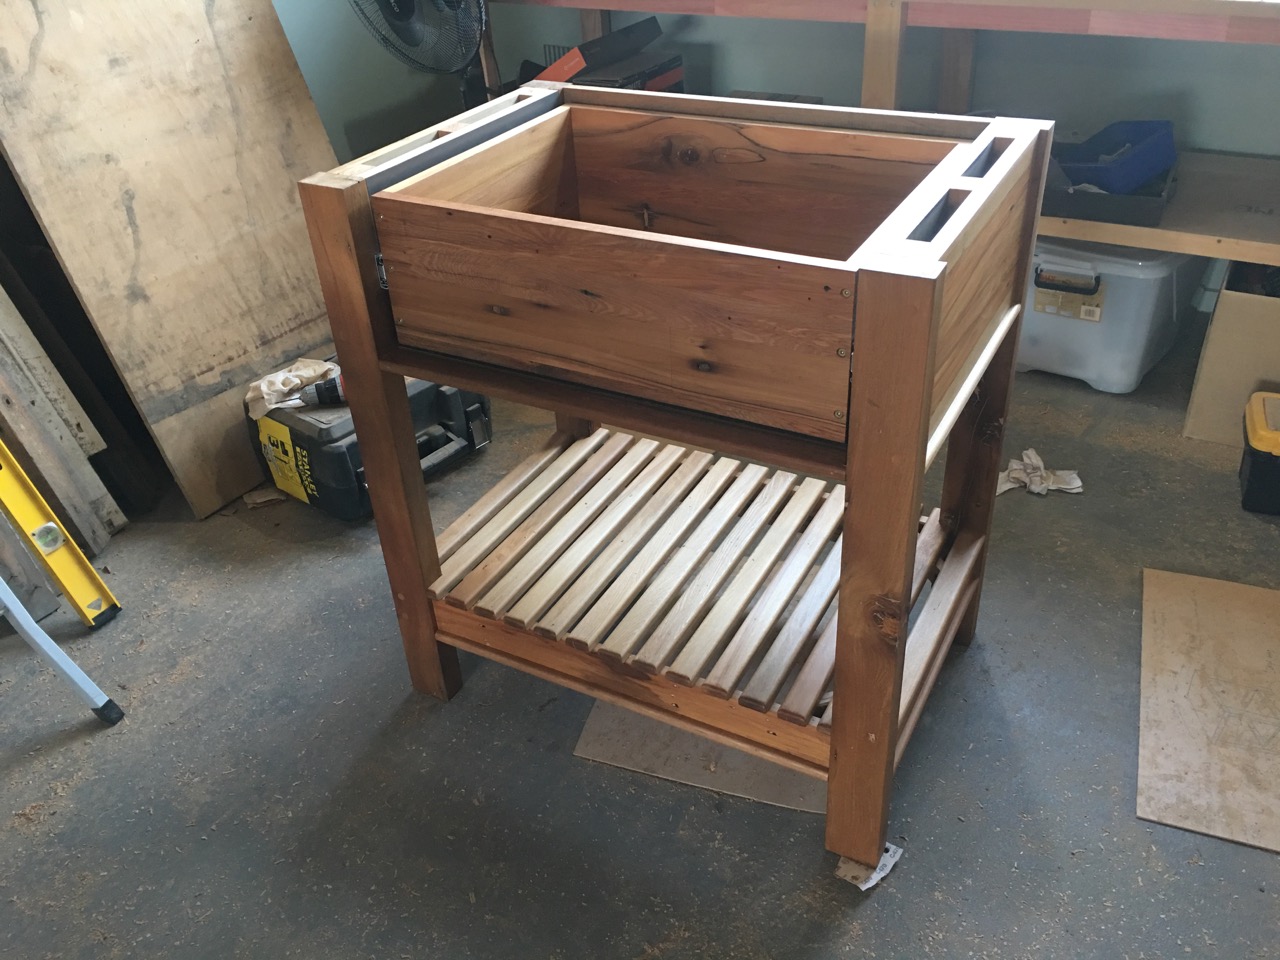
- Taking shape..
-

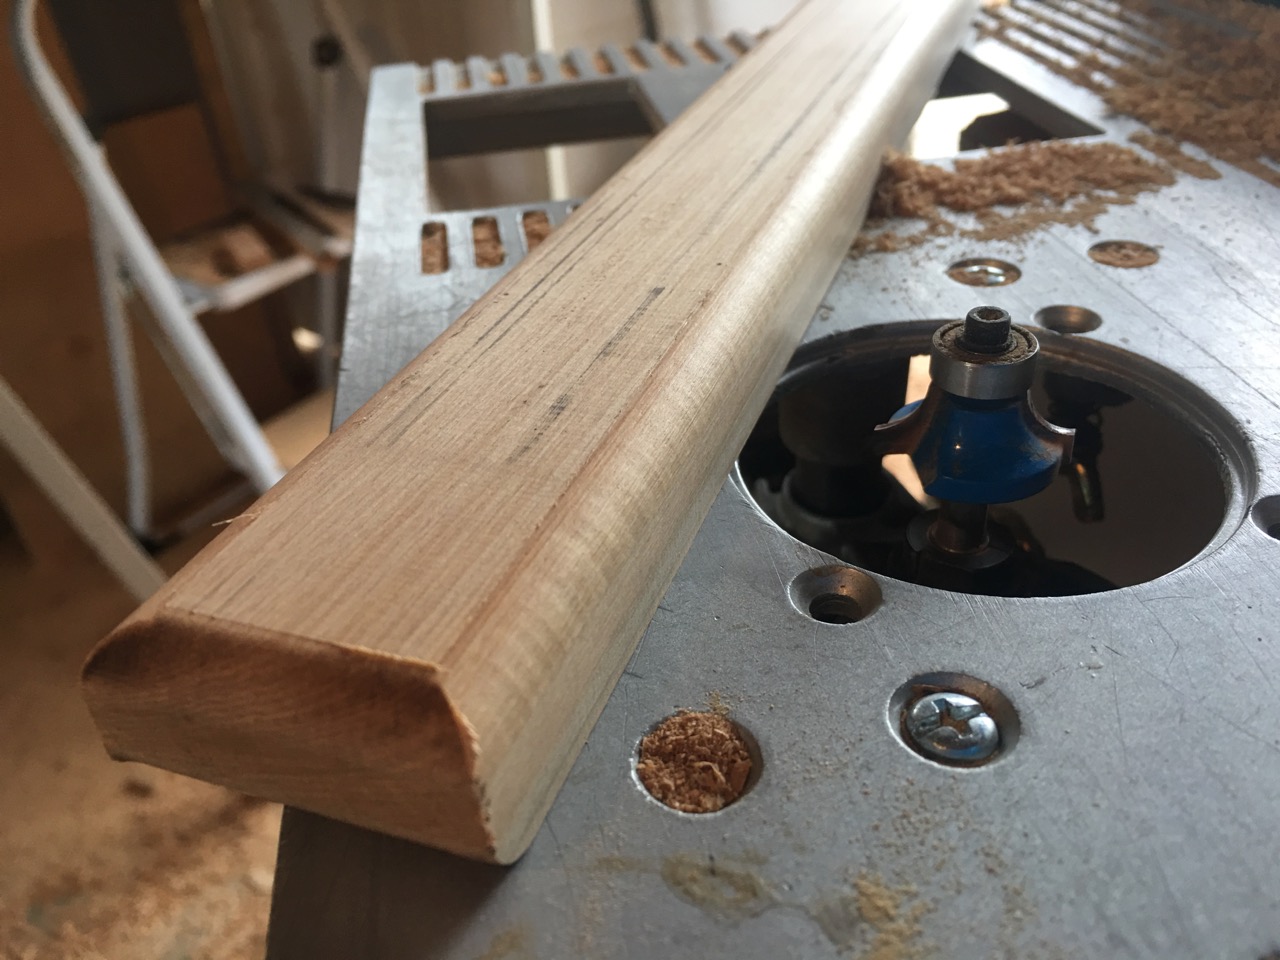
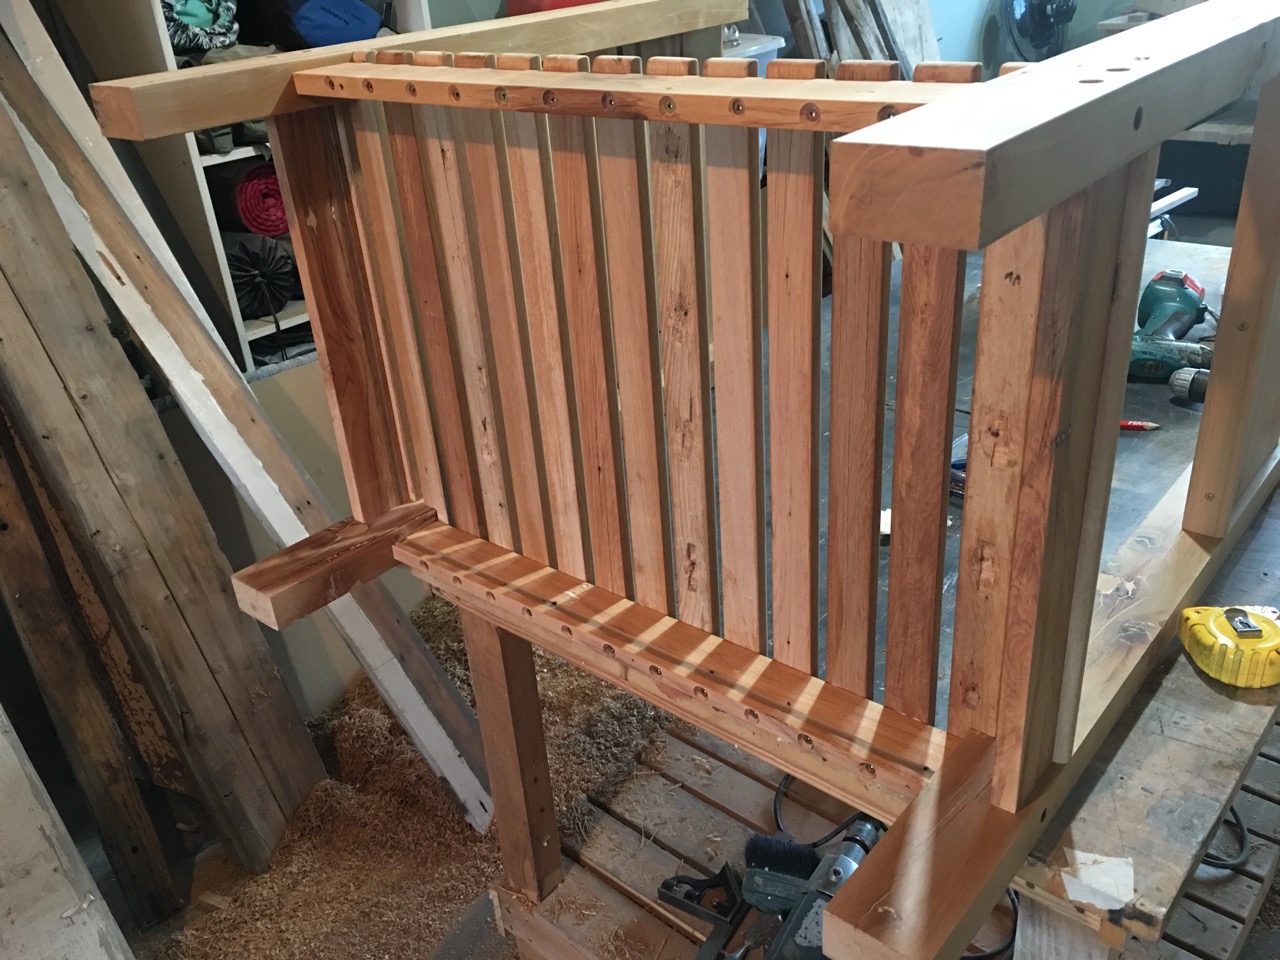
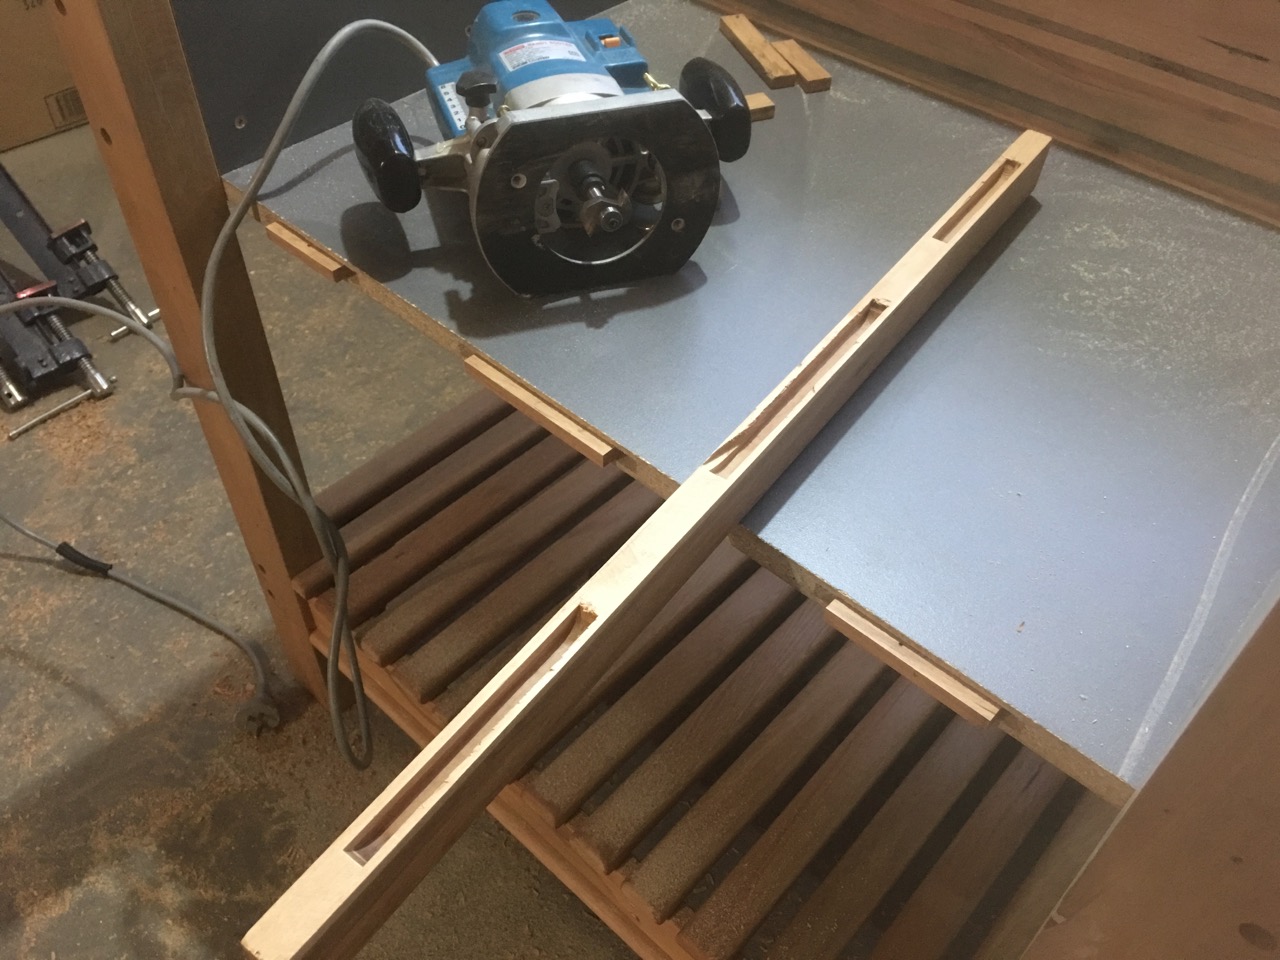
- Machining the lats for the base. 1/4 round router cutter.
-

- I’ll sand them all before assembly.

-

- Everything is sanded prior to assembly. When gluing I try to get apply just enough so that there’s no squeeze out..
-

- I thought about pinning the lats on but to avoid a line of filled nail holes I screwed them from under the rail.

-

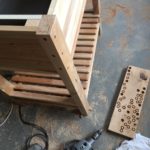
- All on!
-

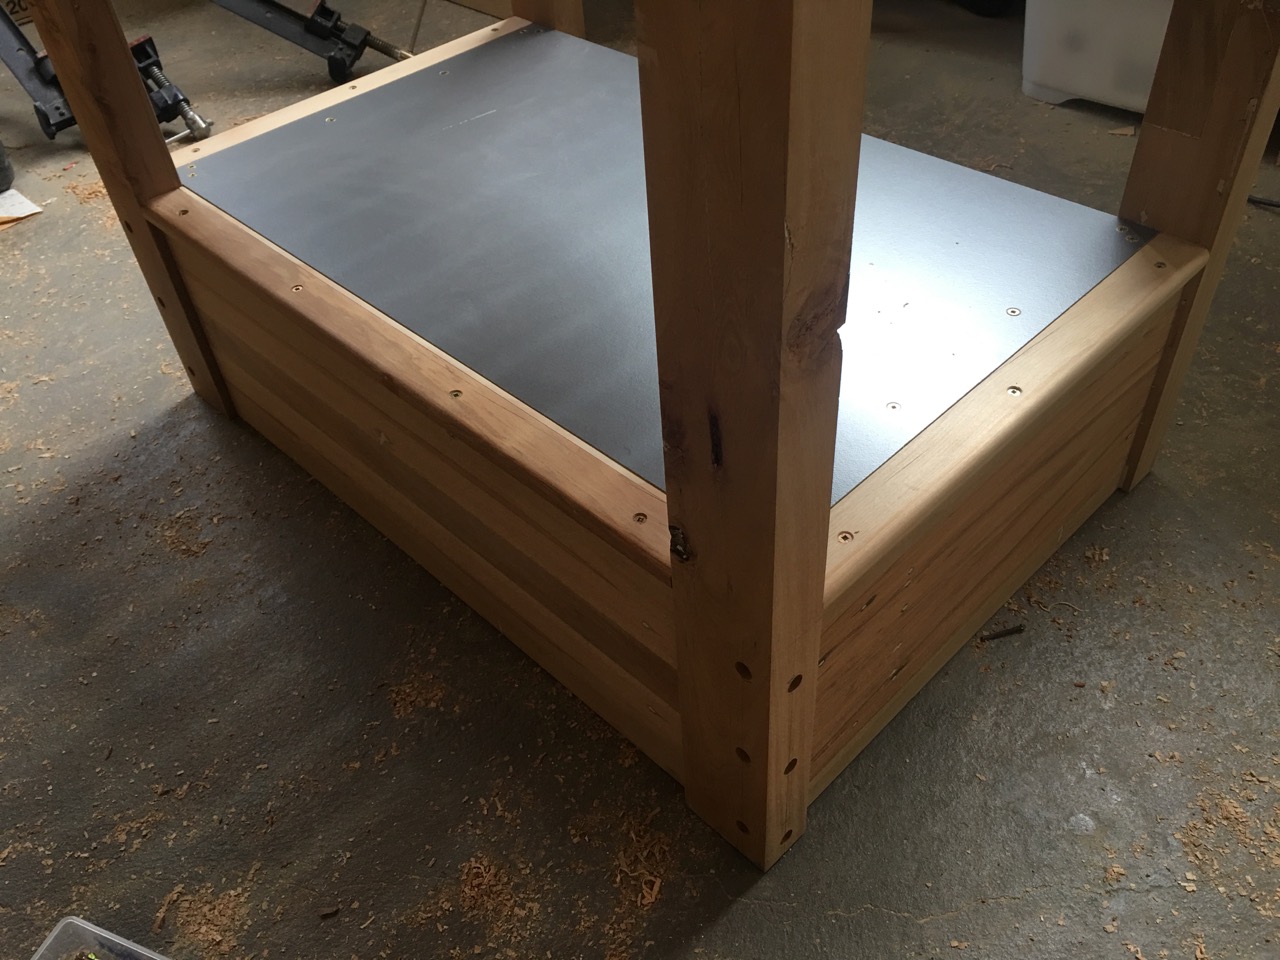
- Now to make the unit to accommodate the drawer.
-

- Lochlan Joseph Creane arrived on May 30th.. The reason there’s no fish in this blog! Looking forward to the future with this little fella in it..

-

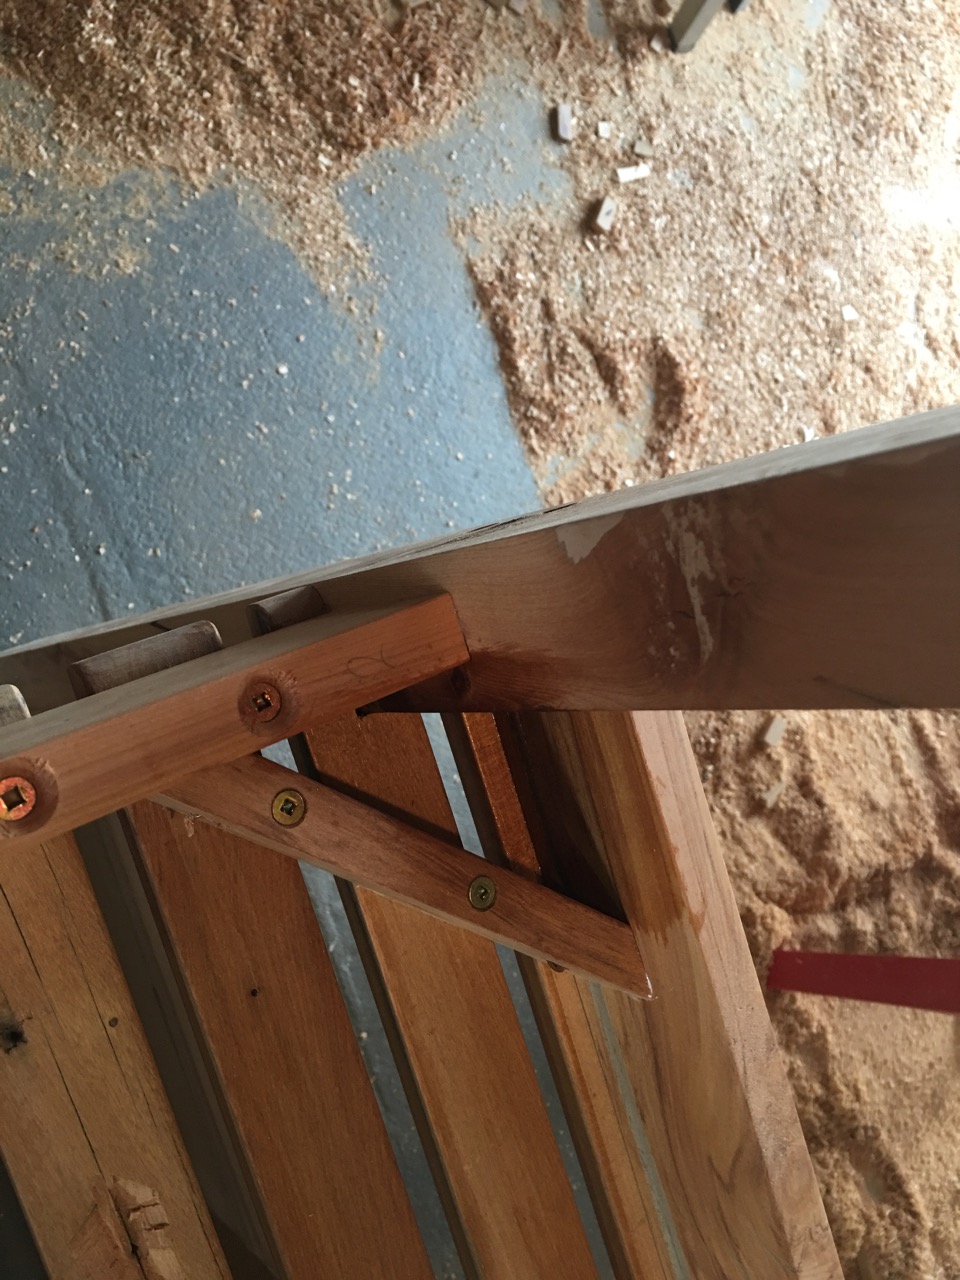
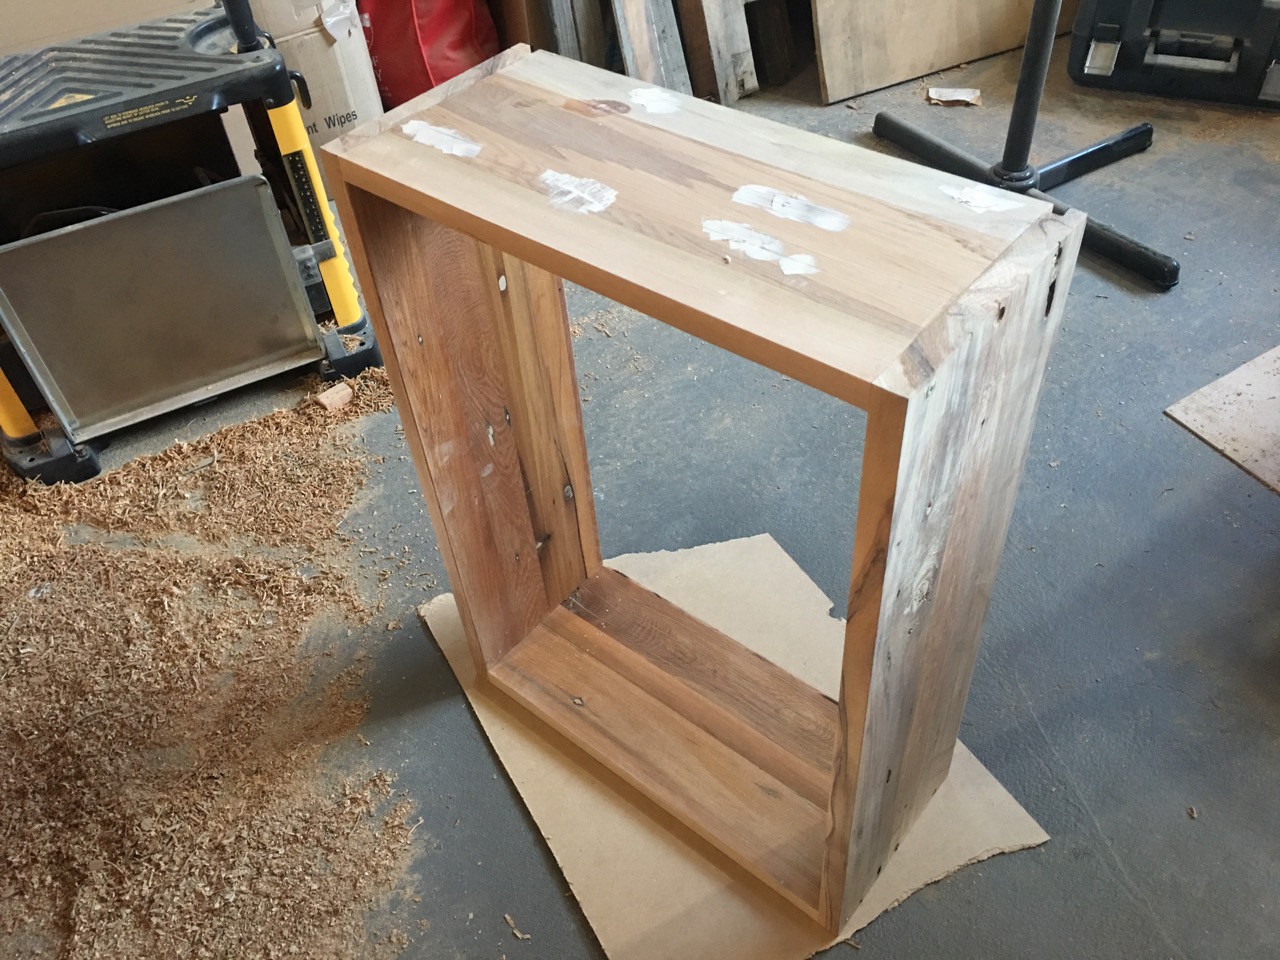
- Corner bracing to add integrity and squareness.
-

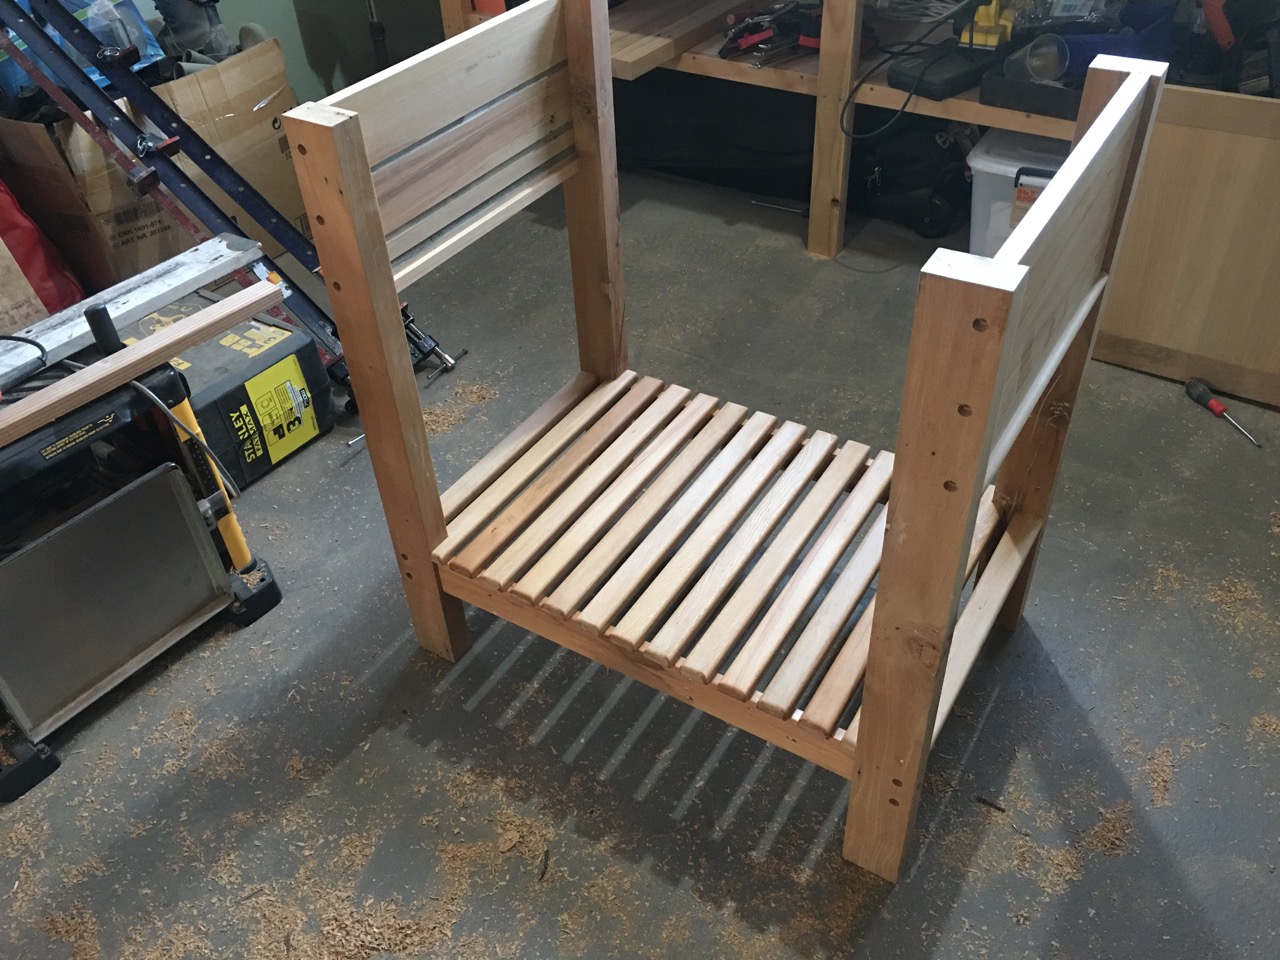
- Really taking shape now..

-

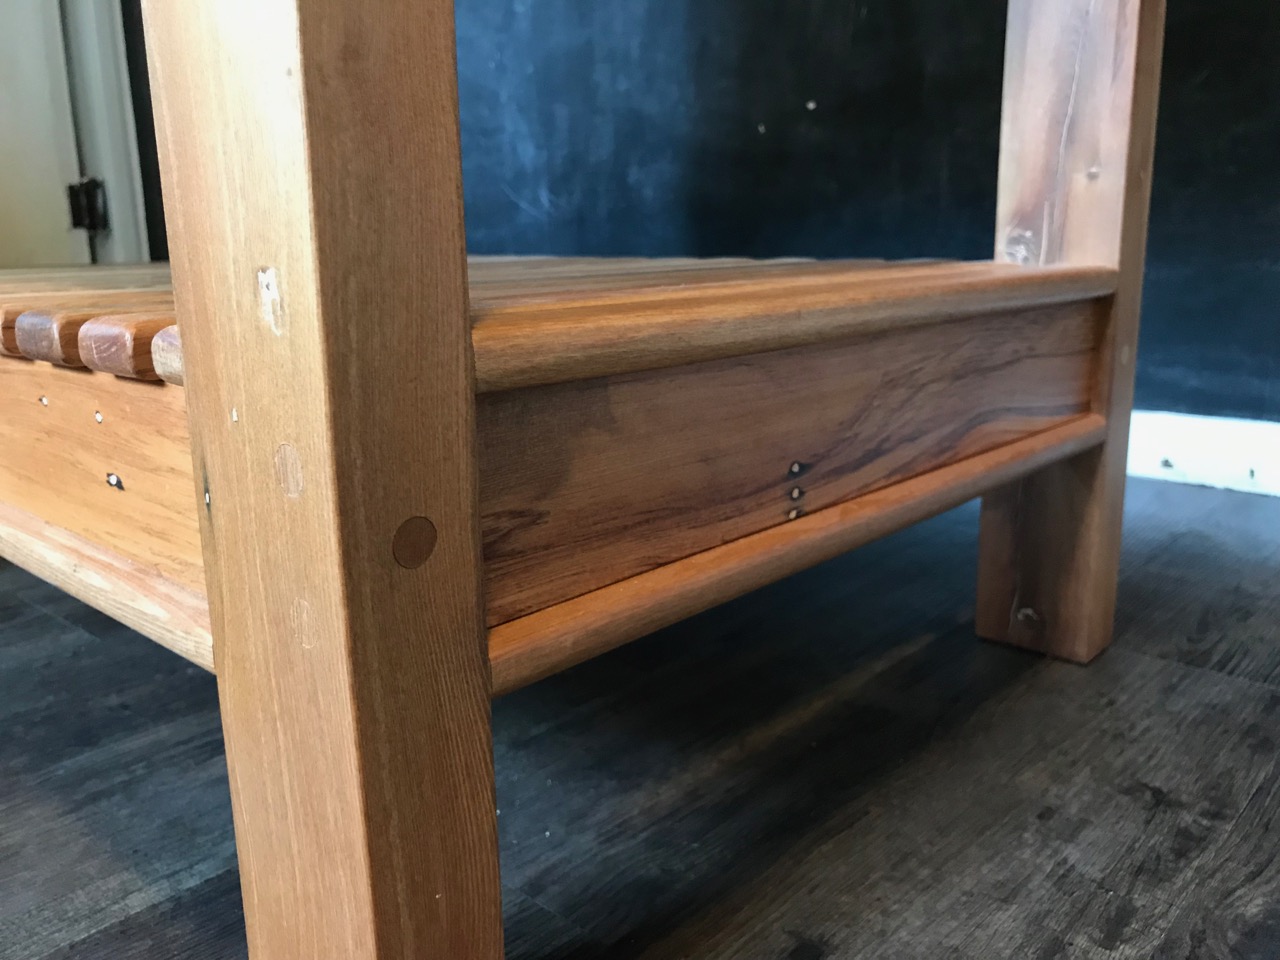
- Adding the bullnose detail.
-

- The same detail under the rails.

-

- The last piece to go onto the unit. With no biscuit joiner this is the next best thing!
-

- Stretched tape makes a good clamp.

-
- Time to plug all the holes. The piece I got the plugs from was the same plank I got the legs from, so I should have a good chance at matching the grain and colour.
-

- Now to make the drawer.

-

- 4 sides glued up.

-

- Veneered oak base.

-

- Some interesting wood in the drawer, I paid no attention to couour or grain matching the wood but I like the result.
-

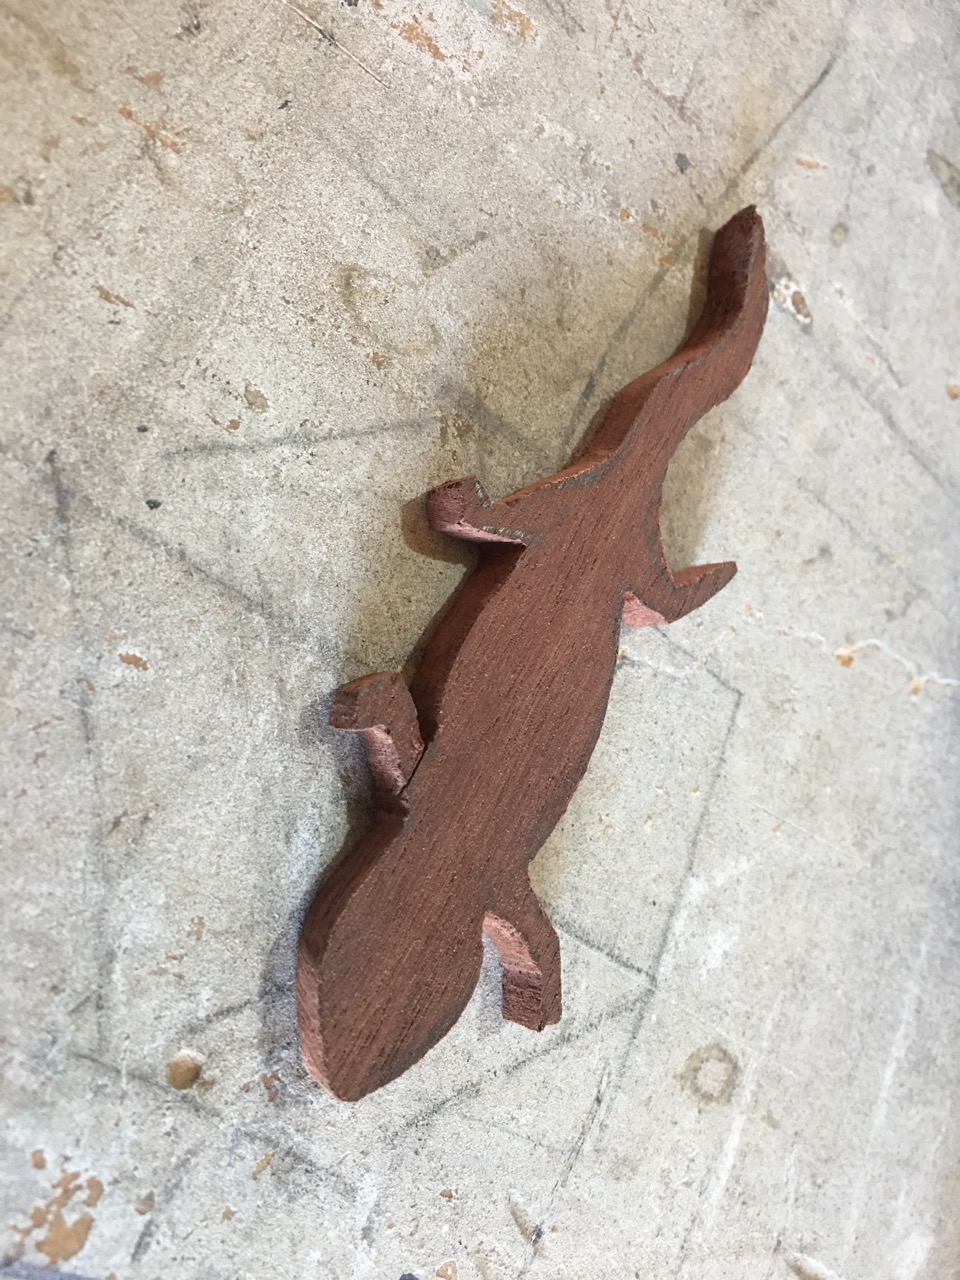
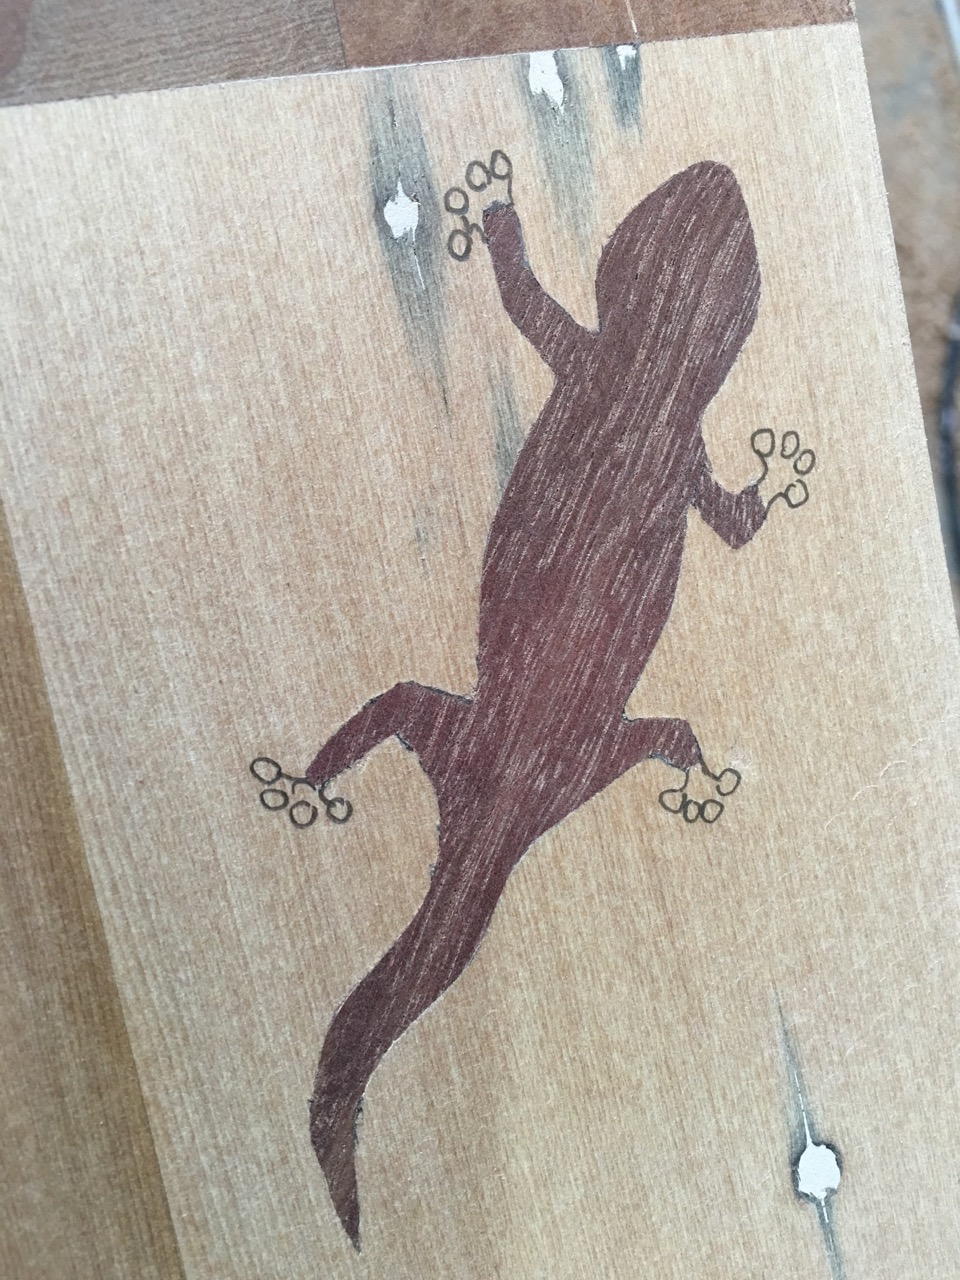
- This is for fun!
-

- I’m putting it on the side of the drawer..

-
- ..hopefully it will be just lifelike enough to give somebody a fright as the drawer opens!

-

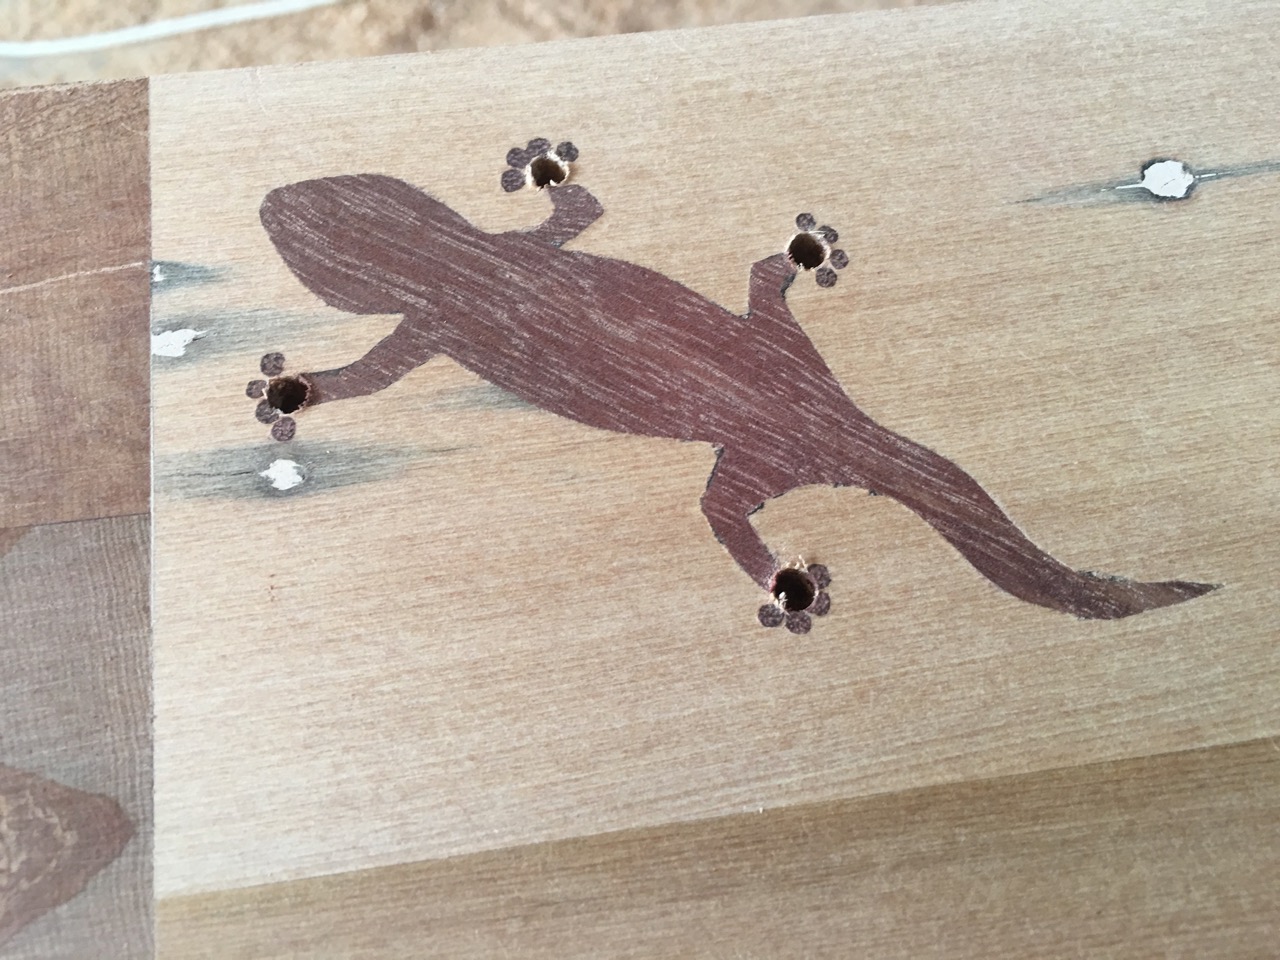
- Now to figure out how to make the feet.
-

- 2mm holes for the toes..

-

- Plugged with a whittled stick.

-

- Same idea for the palms..
-

- Tail seems a bit short..

-

- That should do..

-

- That’ll do.. Made from a piece of wood I found on Lake Benmore.

-

- The drawer..

-

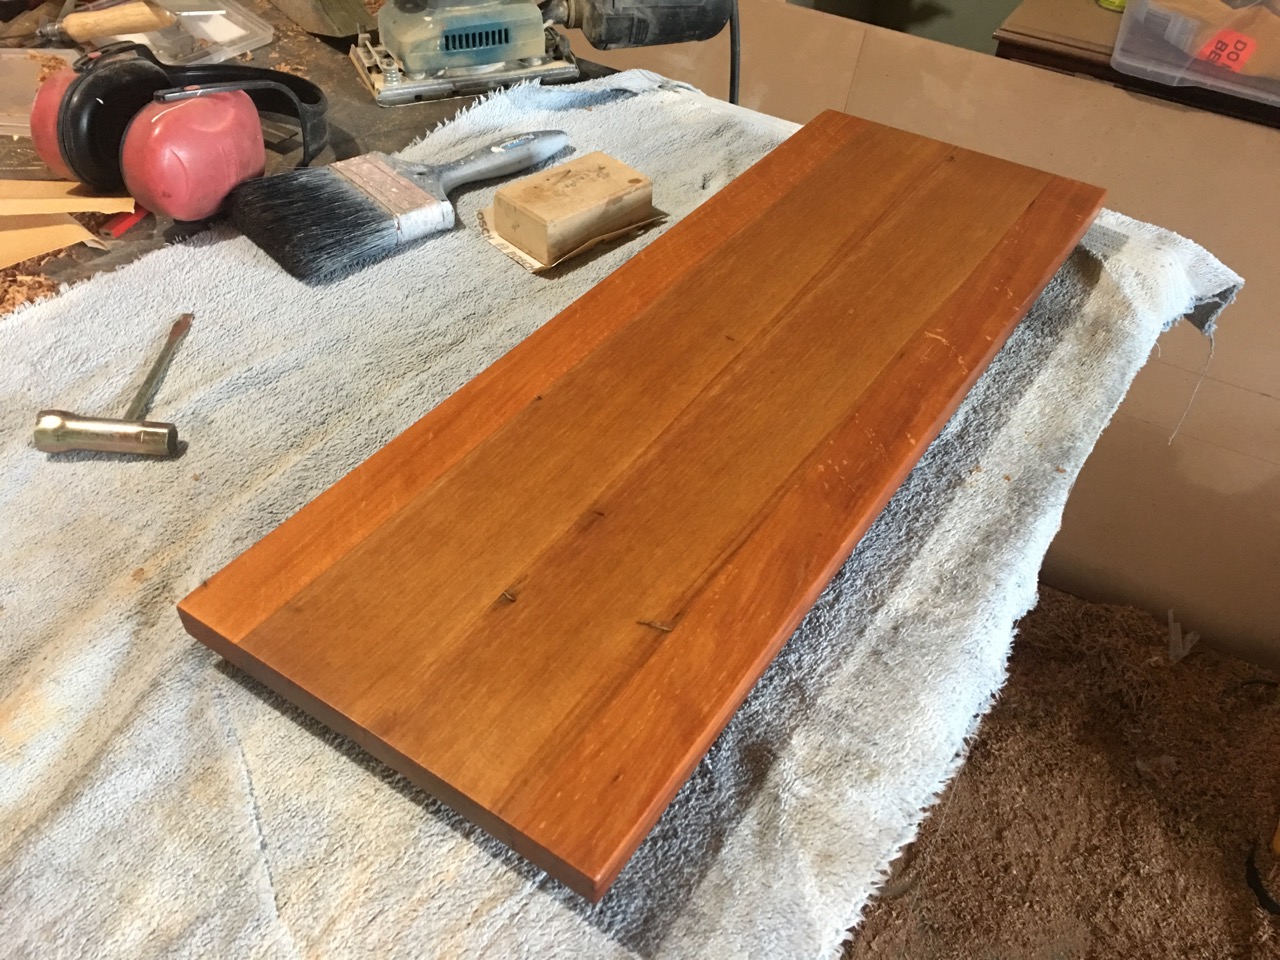
- First coat of oil.
-

- Oiled top.
-

- Drawer fitted.
-

- Shaping the drawer front..
-

- Sanded and oiled.
-

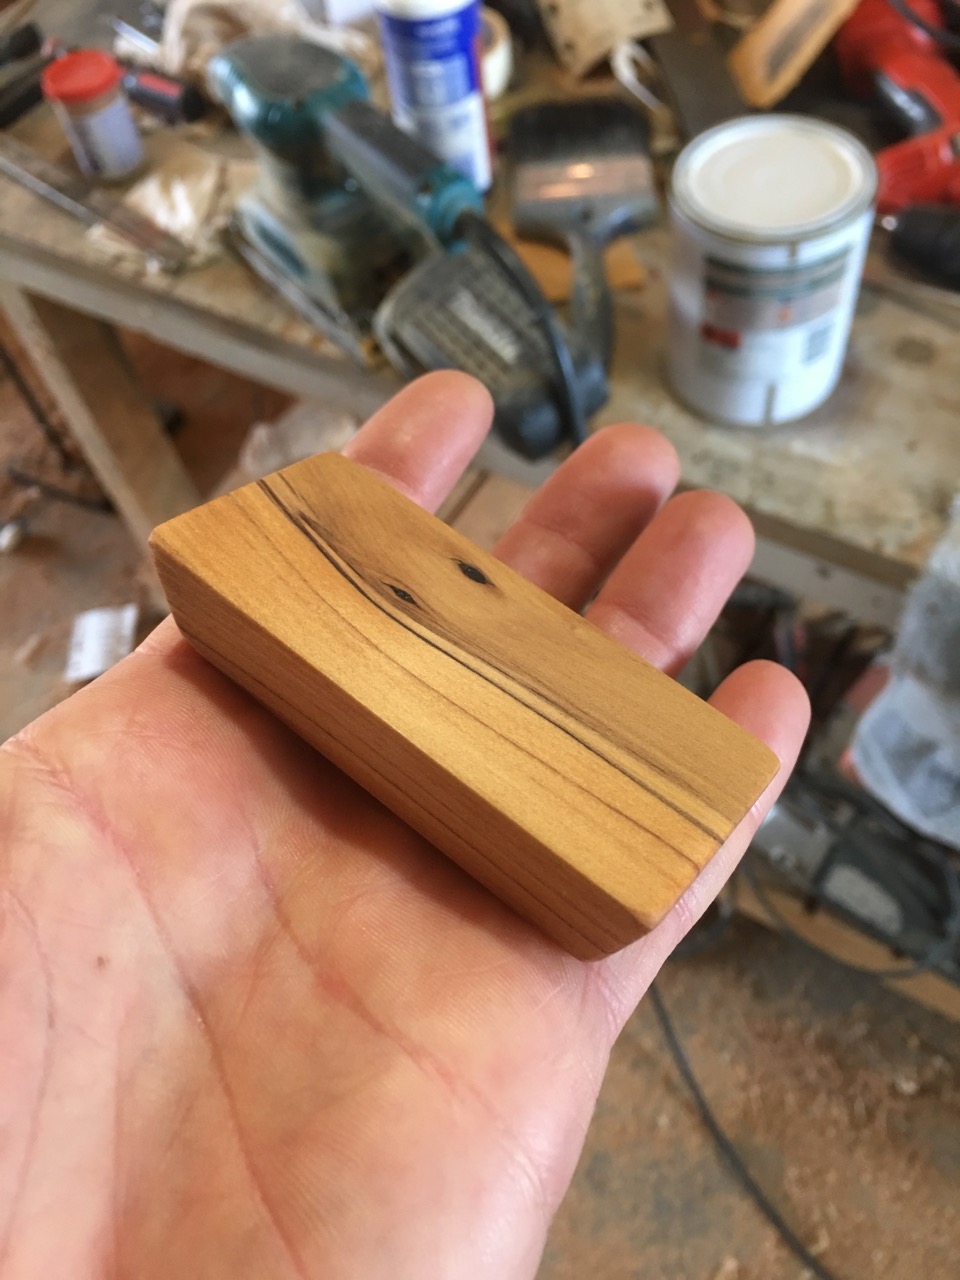
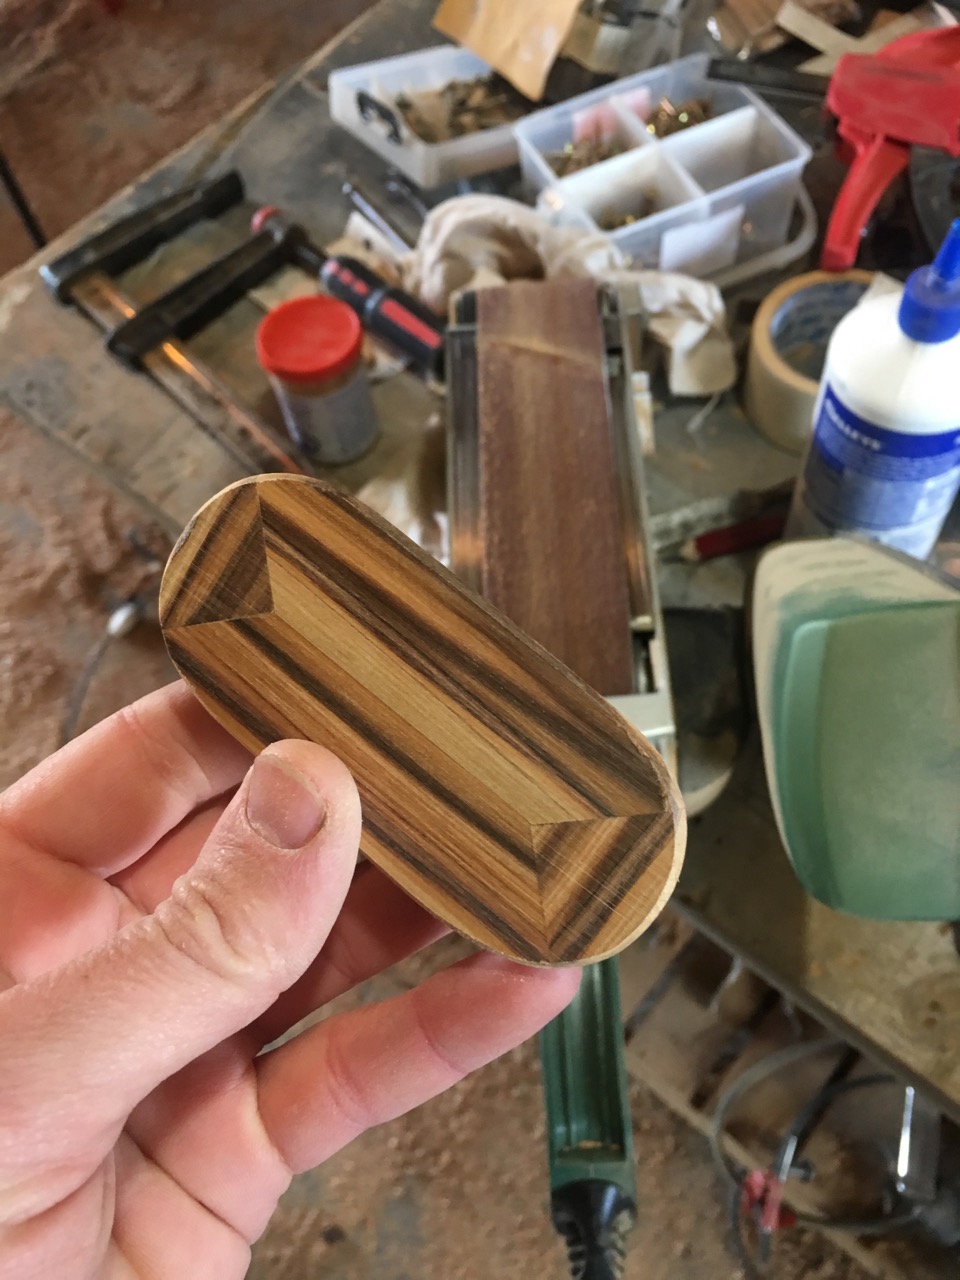
- Which handle? I made 4..
-

- Cool grain..
-

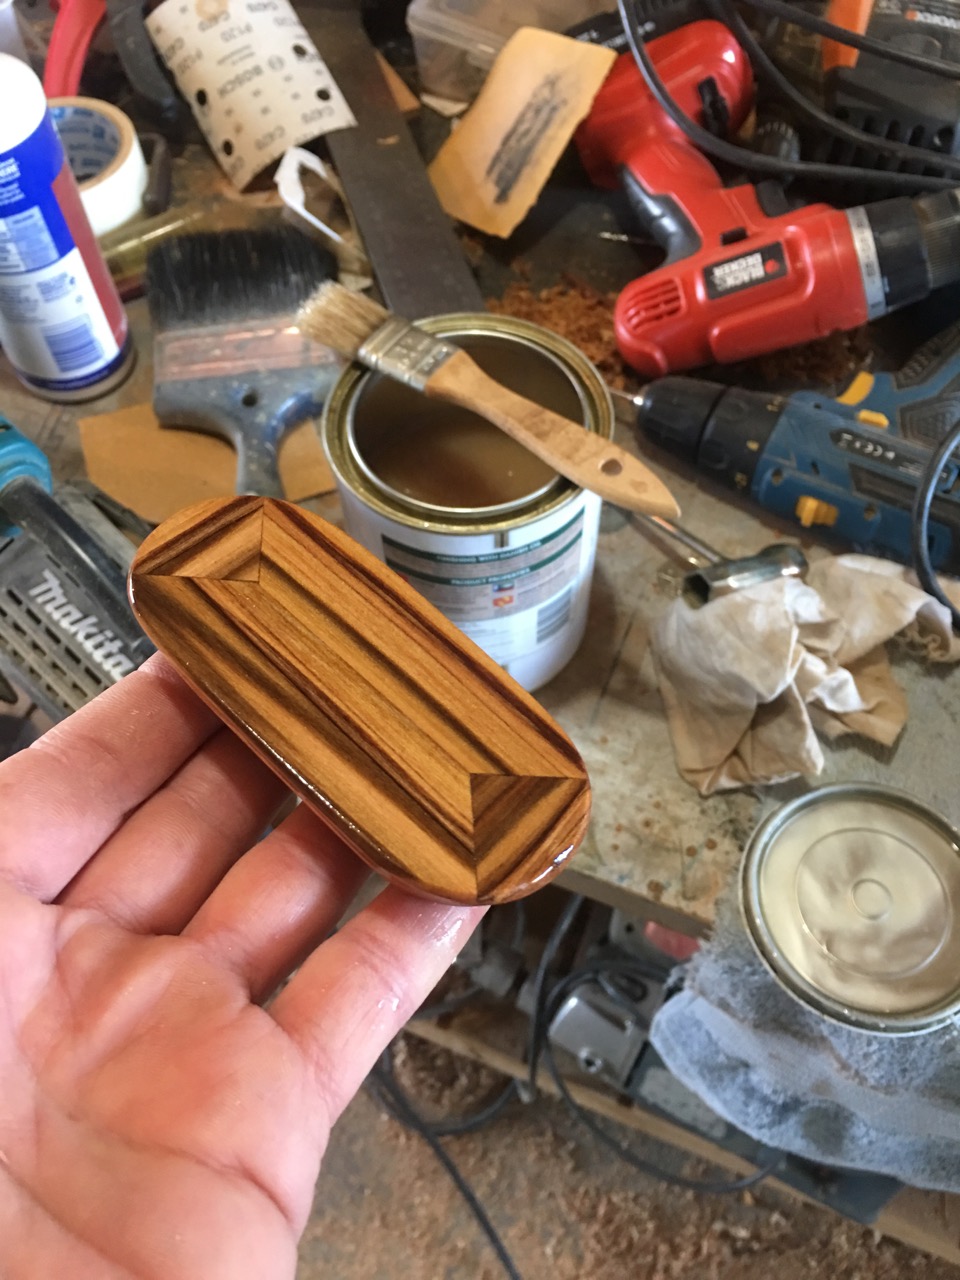
- Oil brings out the grain.
-

- This almost worked..
-

- ..so did this.

-

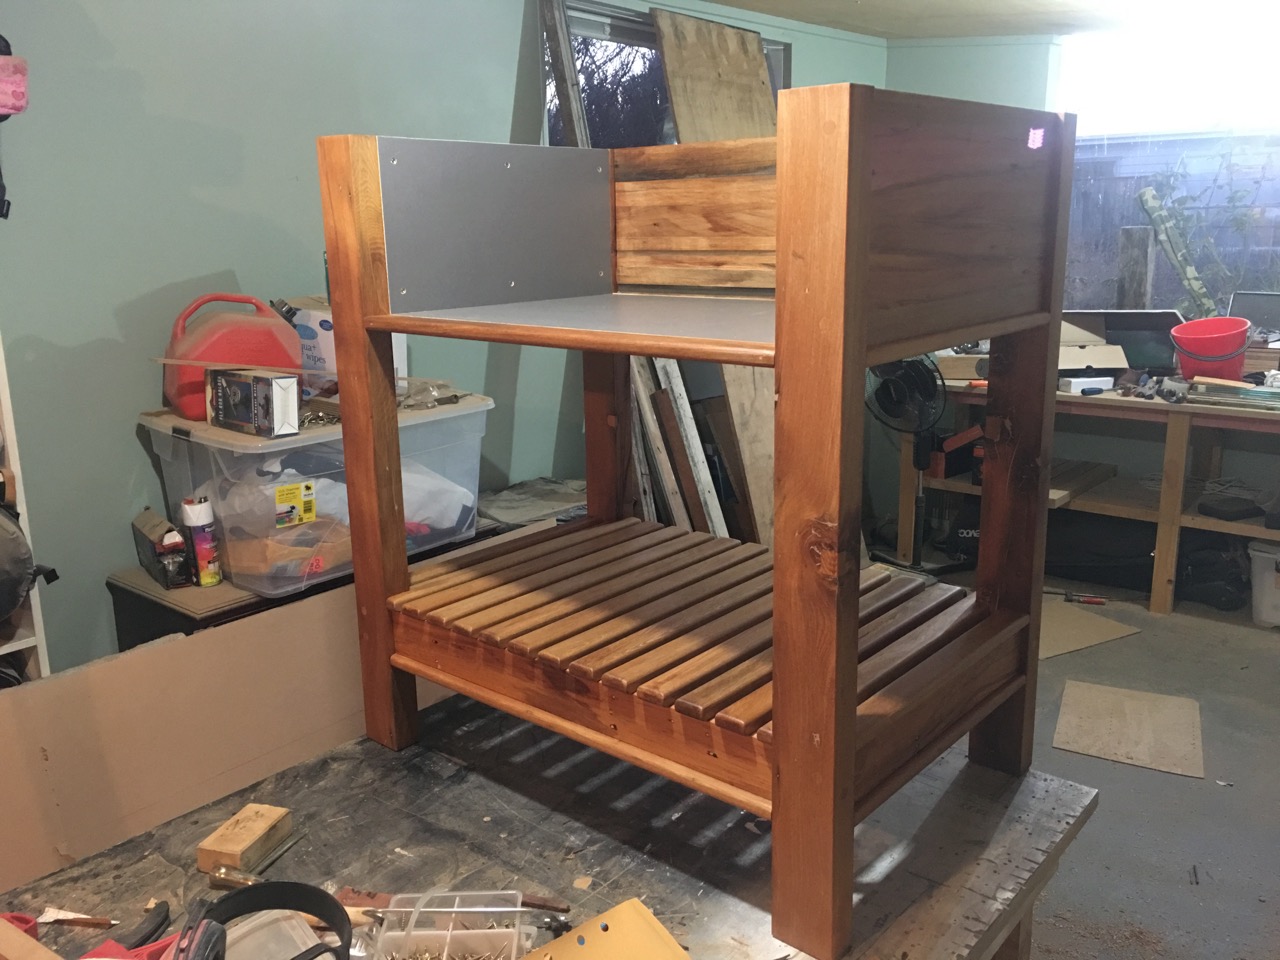
- The top on.. almost there!

-

- A stock take after completion. Not much Rimu left but I have quite a bit of pine.

-

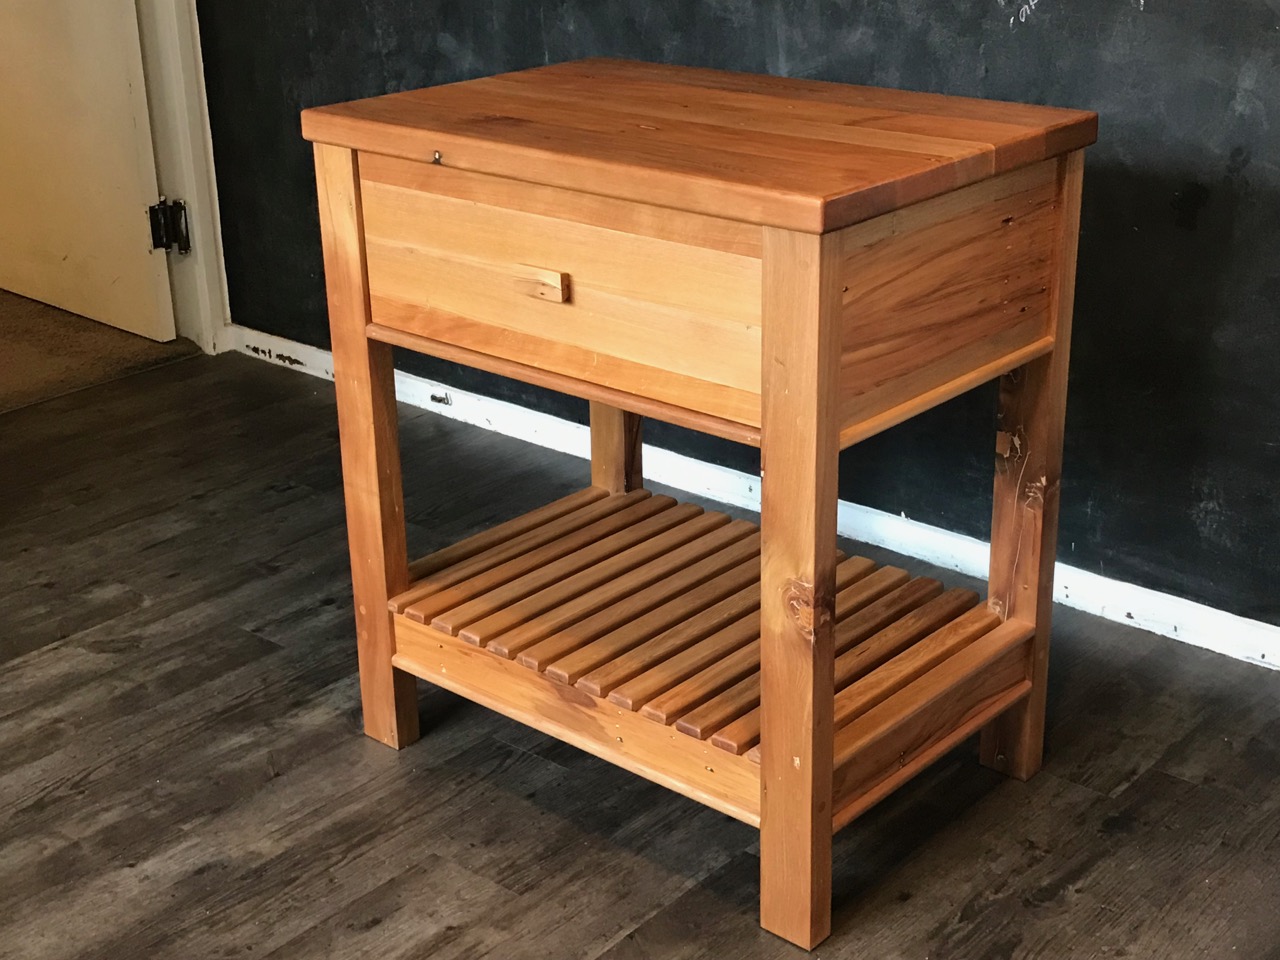
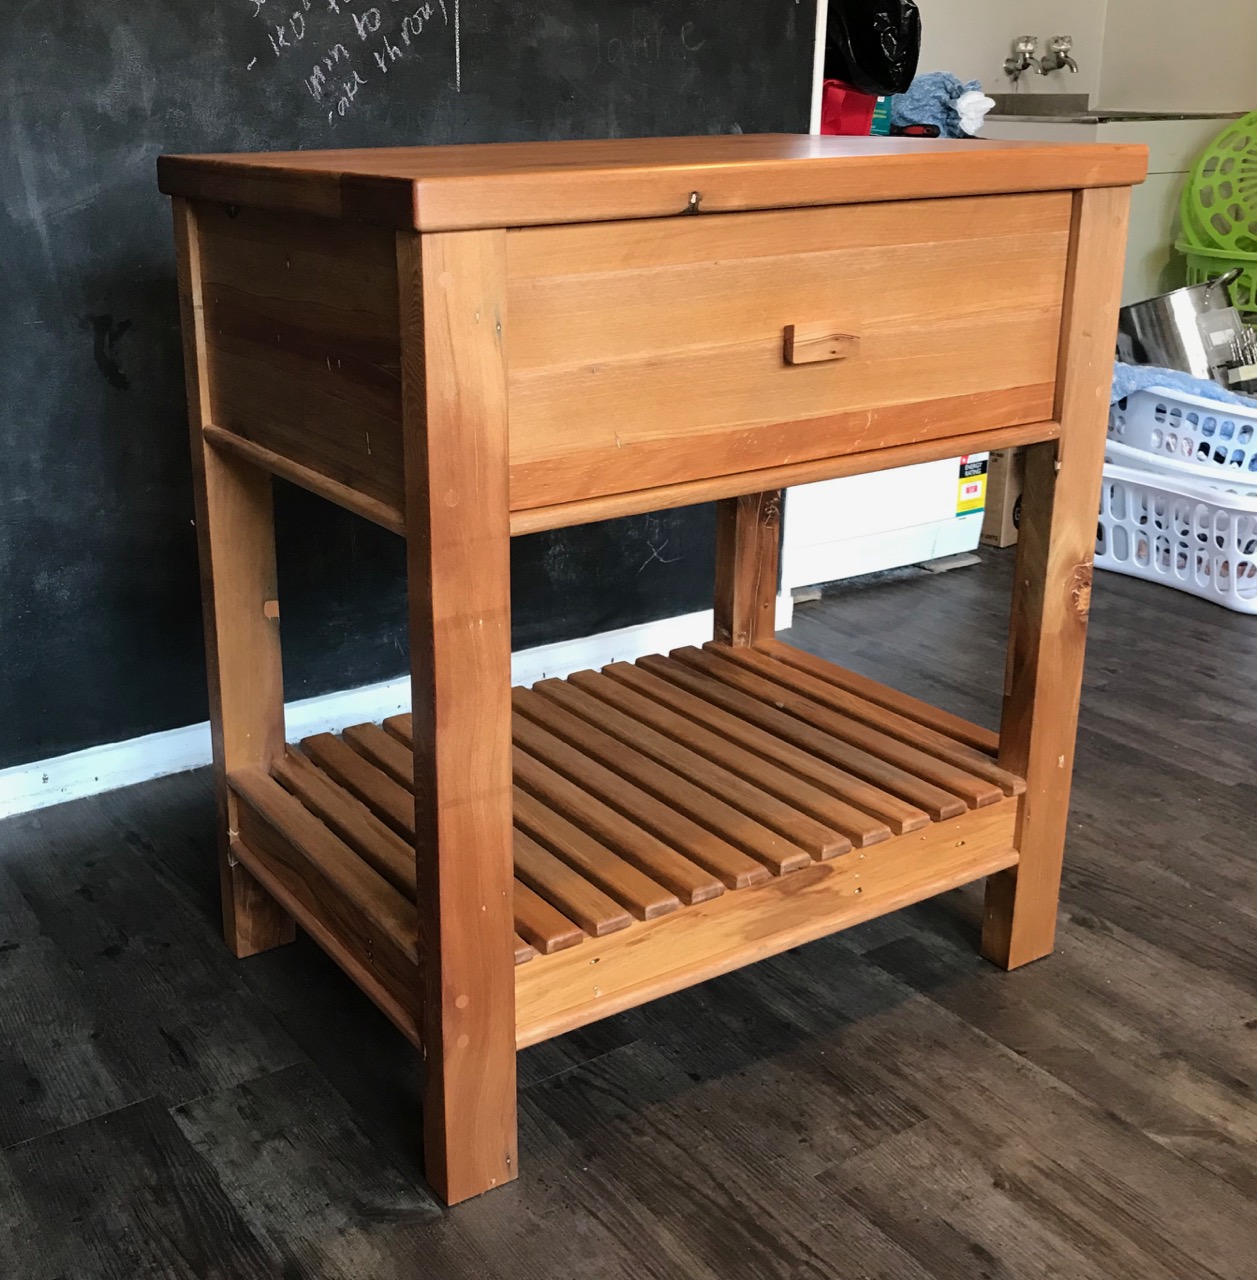
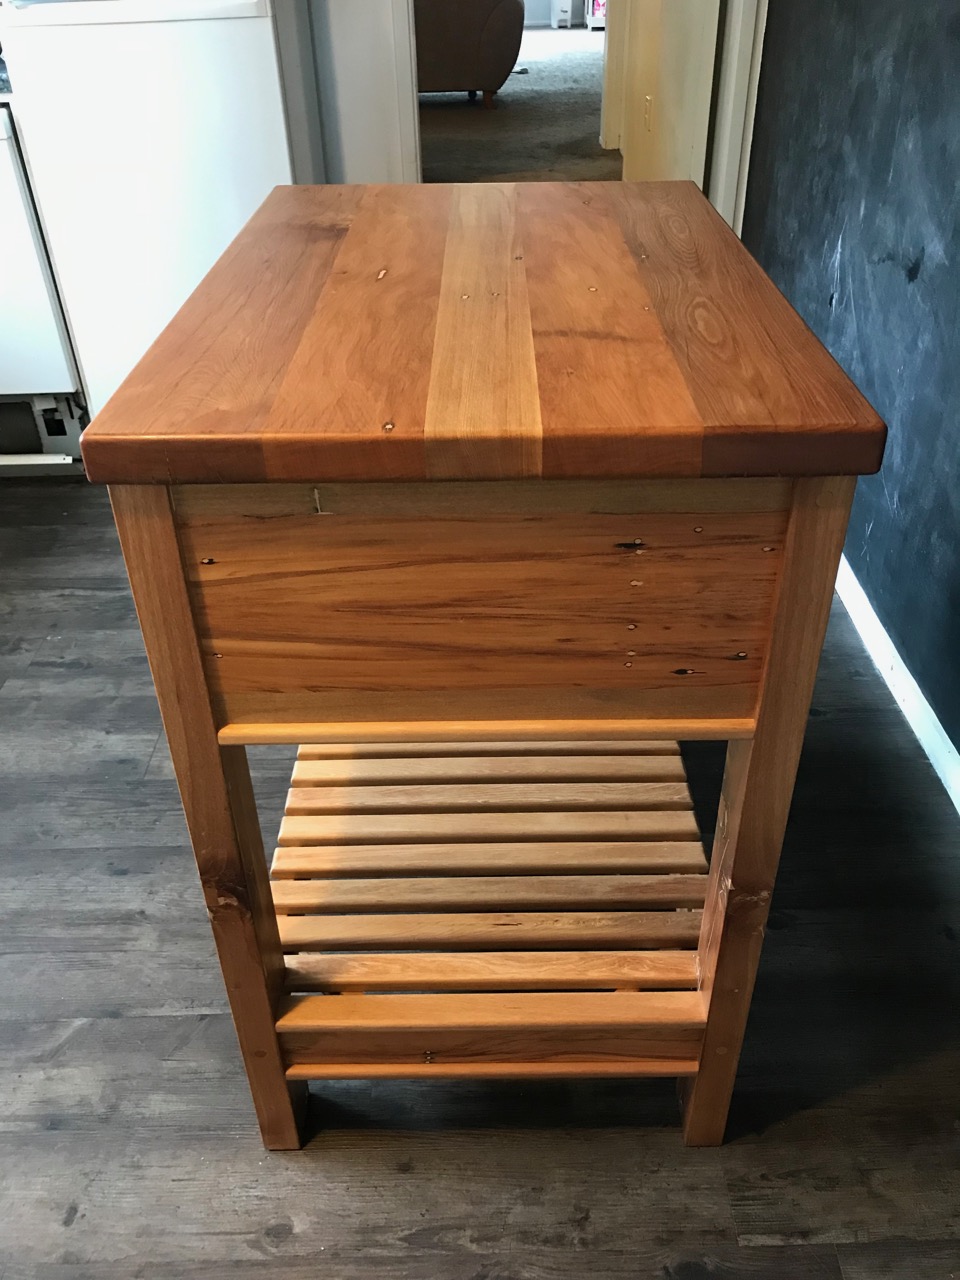
- Finished!
-

- I used the first handle.

-

- The side with book-matched rail visible.
-

- Front view.

-

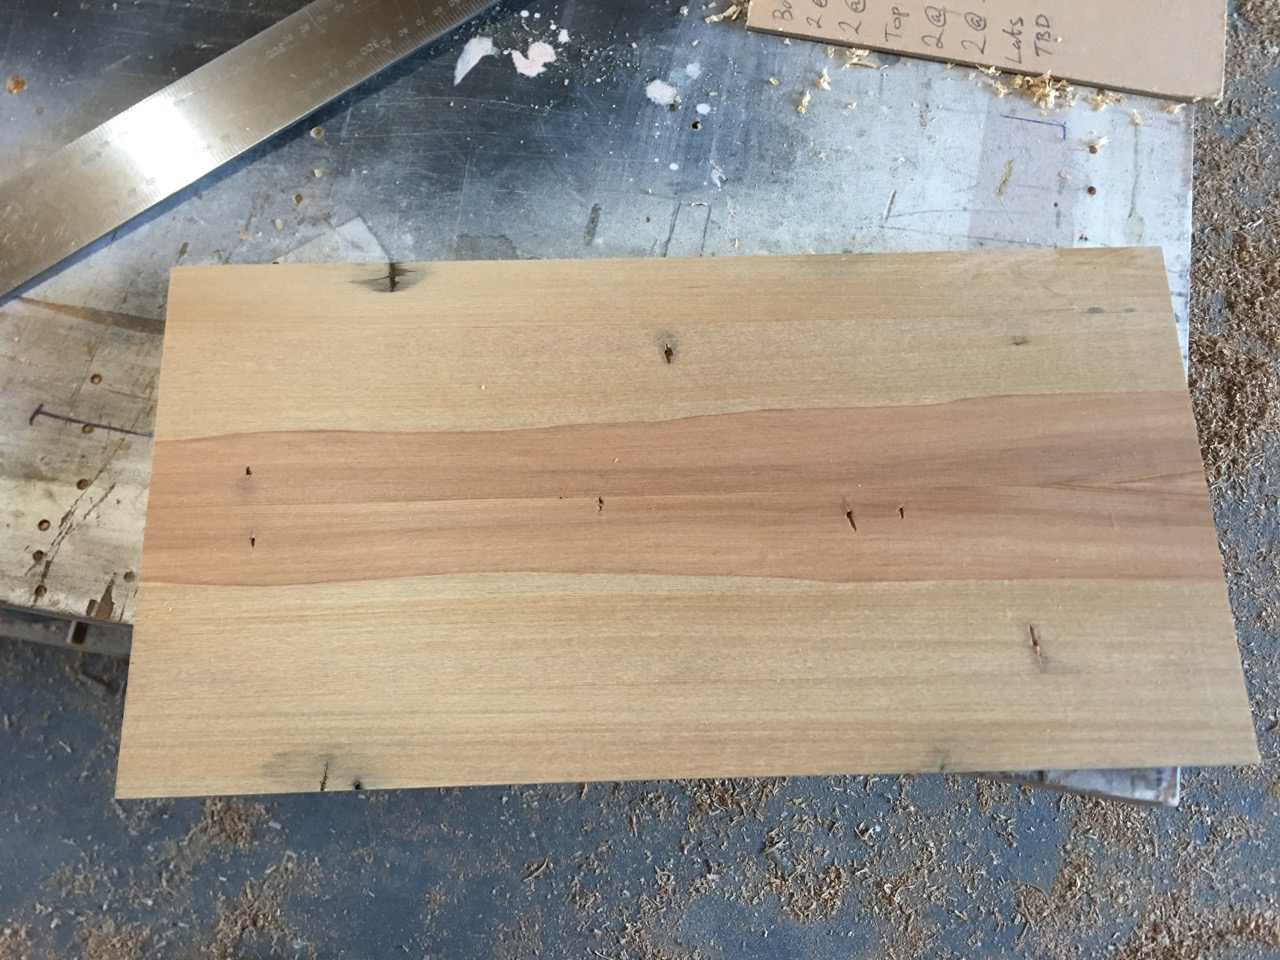
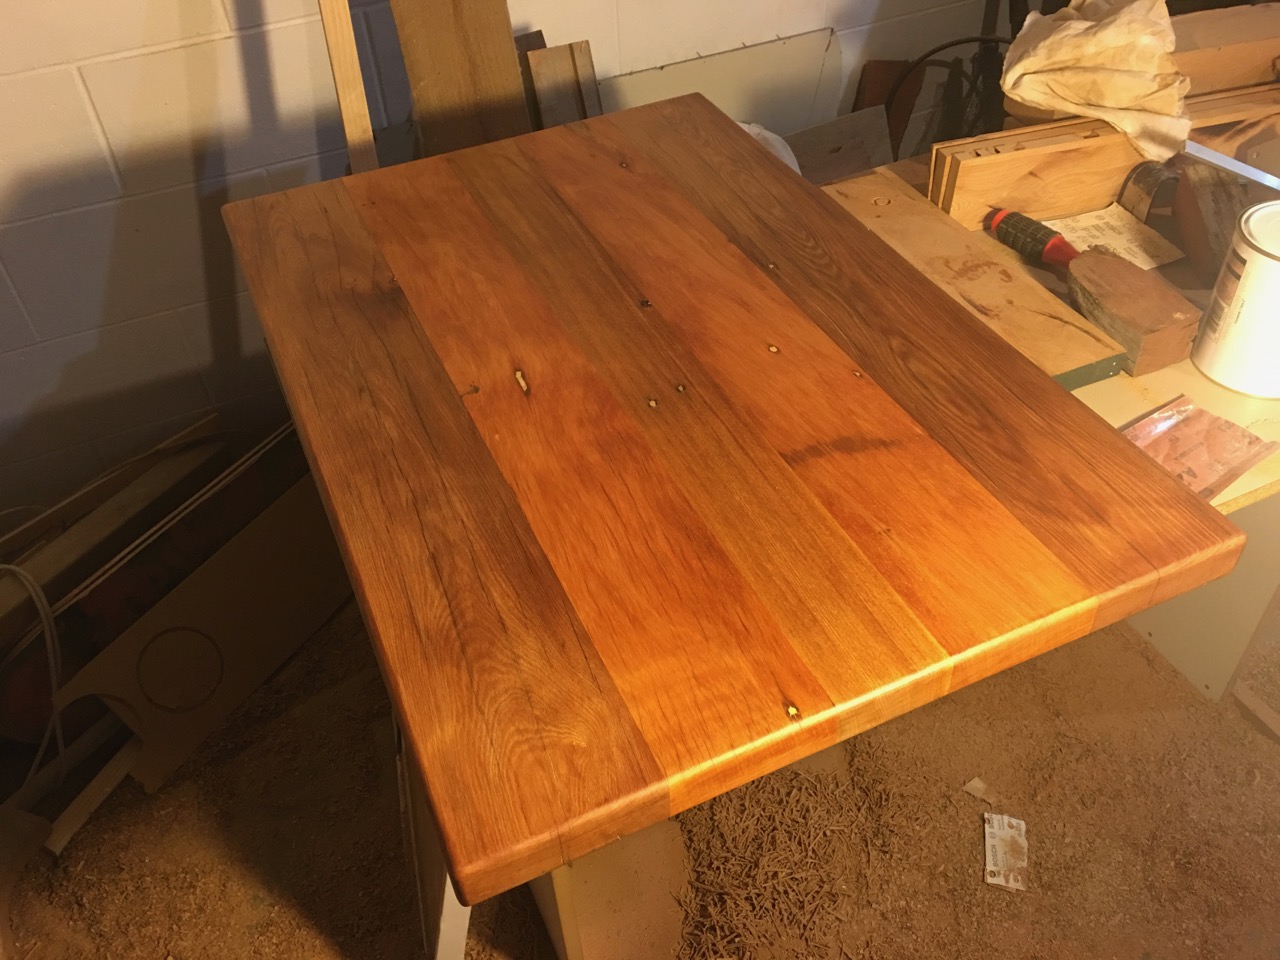
- The top. Defects and all! Plank 2 and 4 are Matai. Probably my favourite NZ native.

-

- I always aim for a 2mm gap all round.

-

- The handle. I love the grain. No need for embellishment.

-

- The bullnose detail around all rails.
-

- The bullnose detail. I like this!
-

- A big spacious drawer.

-

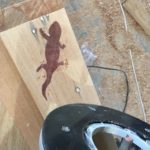
- The gecko.. Adaline loves it!

-

- This is its home.

-

- I’m pleased with it. The timber was rescued from a burn pile. Hope you like it Iza!!