Viking Lars | Wednesday, 2 October 2019
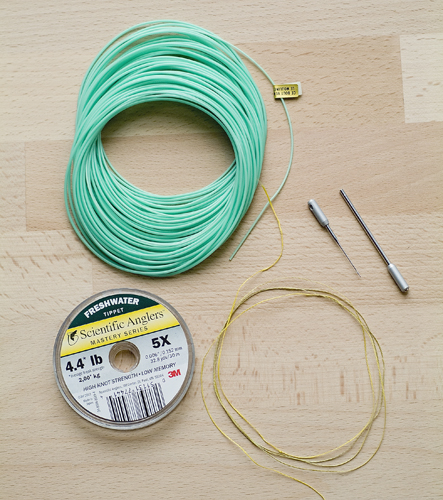
Sparked by a dialogue on Paul Procter’s Facebook page, I’ve written this article on how to splice a loop in a woven fly line core. This is my preferred method when it comes to making loops on flylines, based mainly on the fact that it’s fast and easy to make (I think I can make one in less than 5 minutes) and it’s by far the strongest method.
There are other popular methods (welded loops come to mind) and there are variations and combinations of methods that are also very good, but this a fast and easy method I’ve used for over 20 years.
The pictures are around 15 years old, but the only thing I do differently today is that I use a fast-curing UV-glue instead of PVC-glue. Pro Sportfisher Thin Flex is my preferred glue, because I think it has better adhesion qualities than others I’ve tried. Apart from that the method remains unchanged.
Here’s how I do it:
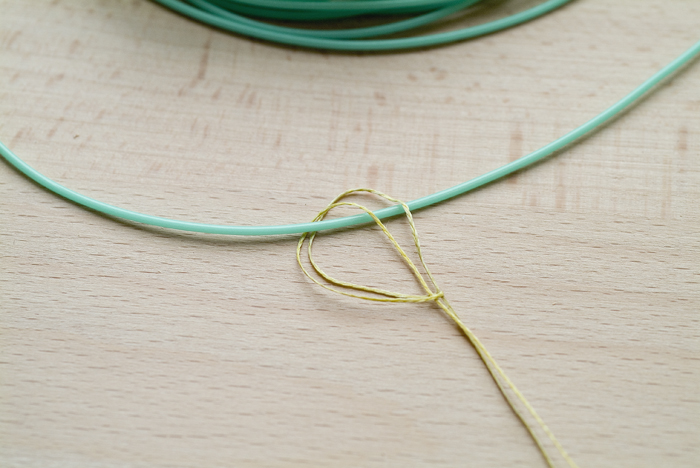
You need to remove the coating from a short section of line. You can dip the line in acetone and remove it with your fingers. That’s actually necessary on some brands to remove the primer used to adhere the coating to the core. On most lines, a loop of 35lbs GSP-backing around the line will do the trick.
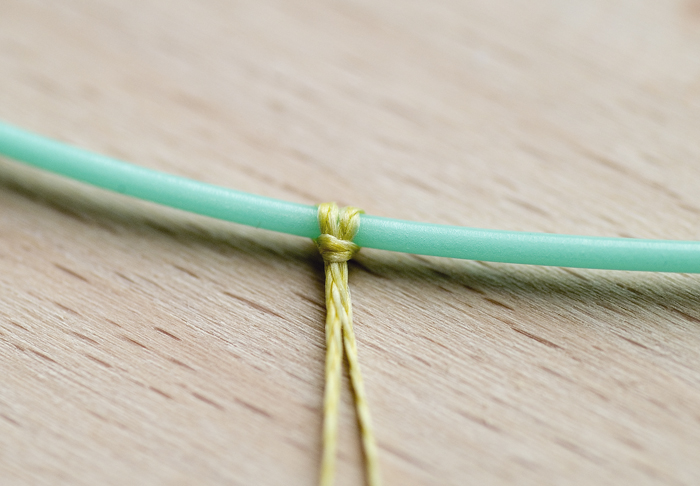
Tighten the loop as shown.

Grab the backing loop and loop it around your little finger a few times to get a good grip, and start stripping off the coating.

If you strip parallel to the line, you can strip off as much coating as you want in one go.

With a needle, fray about a centimeter of end of the core.
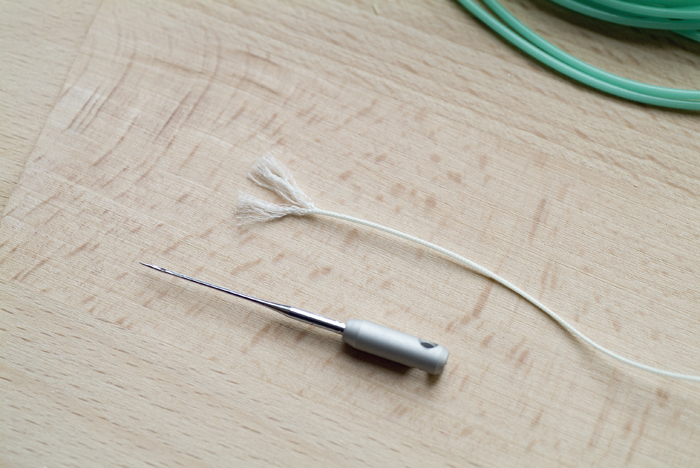
Split the frayed end into to equal halves.
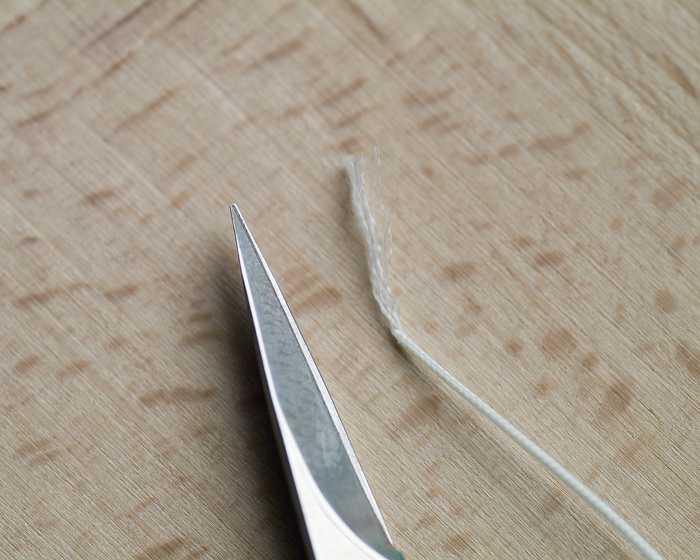
With a pair of scissors, snip off one half of the frayed end.

Now insert a sewing machine needle just above where the coating begins, and push it through the core towards the frayed end. Going through 2cm is enough.

Insert the ends of a monofilament loop in the eye of the sewing machine needle.

And pull through - not pulling the monofilament loop all the way through.

Insert the frayed end in the monofilament loop.

And pull through.

The core has been pulled through itself and the loop adjusted to the desired size.

With a needle or something else suitable through the spliced loop, tighten the splice.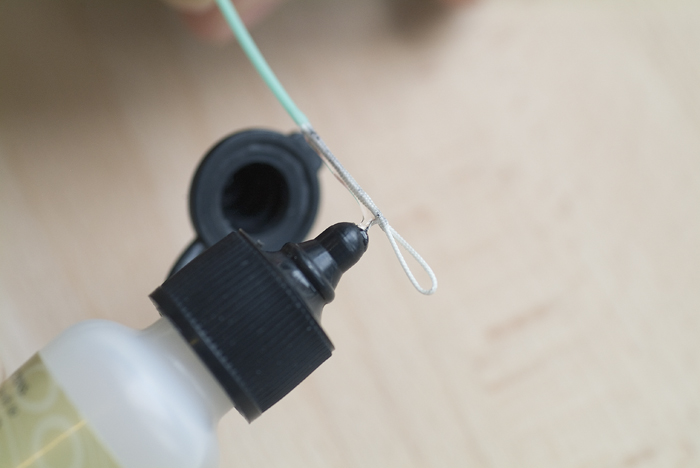
Snip off the waste end and apply glue, and set the glue with the UV torch.

The finished loops (the black markings are from the monofilament loops, which I dyed black with a pen in order for it to show up properly on the pictures).
That’s it - fast, easy and extremely strong. Done correctly I’ll say it’s as strong as the core itself. The technique works on all types of woven cores, and being a splice it cannot slip and close on itself, which I’ve had happen on whipped loops.
Photos by Morten Valeur.